So much for my good intentions to write regular blog posts about my allotment adventures over the summer! It’s not that I haven’t written anything but its been in my personal journal and not for public consumption – apart from the occasional tweet. So for the record and to catch up I’ll try and summarise what’s happened over my first 6 months on my plot.
April –

Seeds

1st pallet collar raised beds

Windowsill seedlings

Mulching weeds

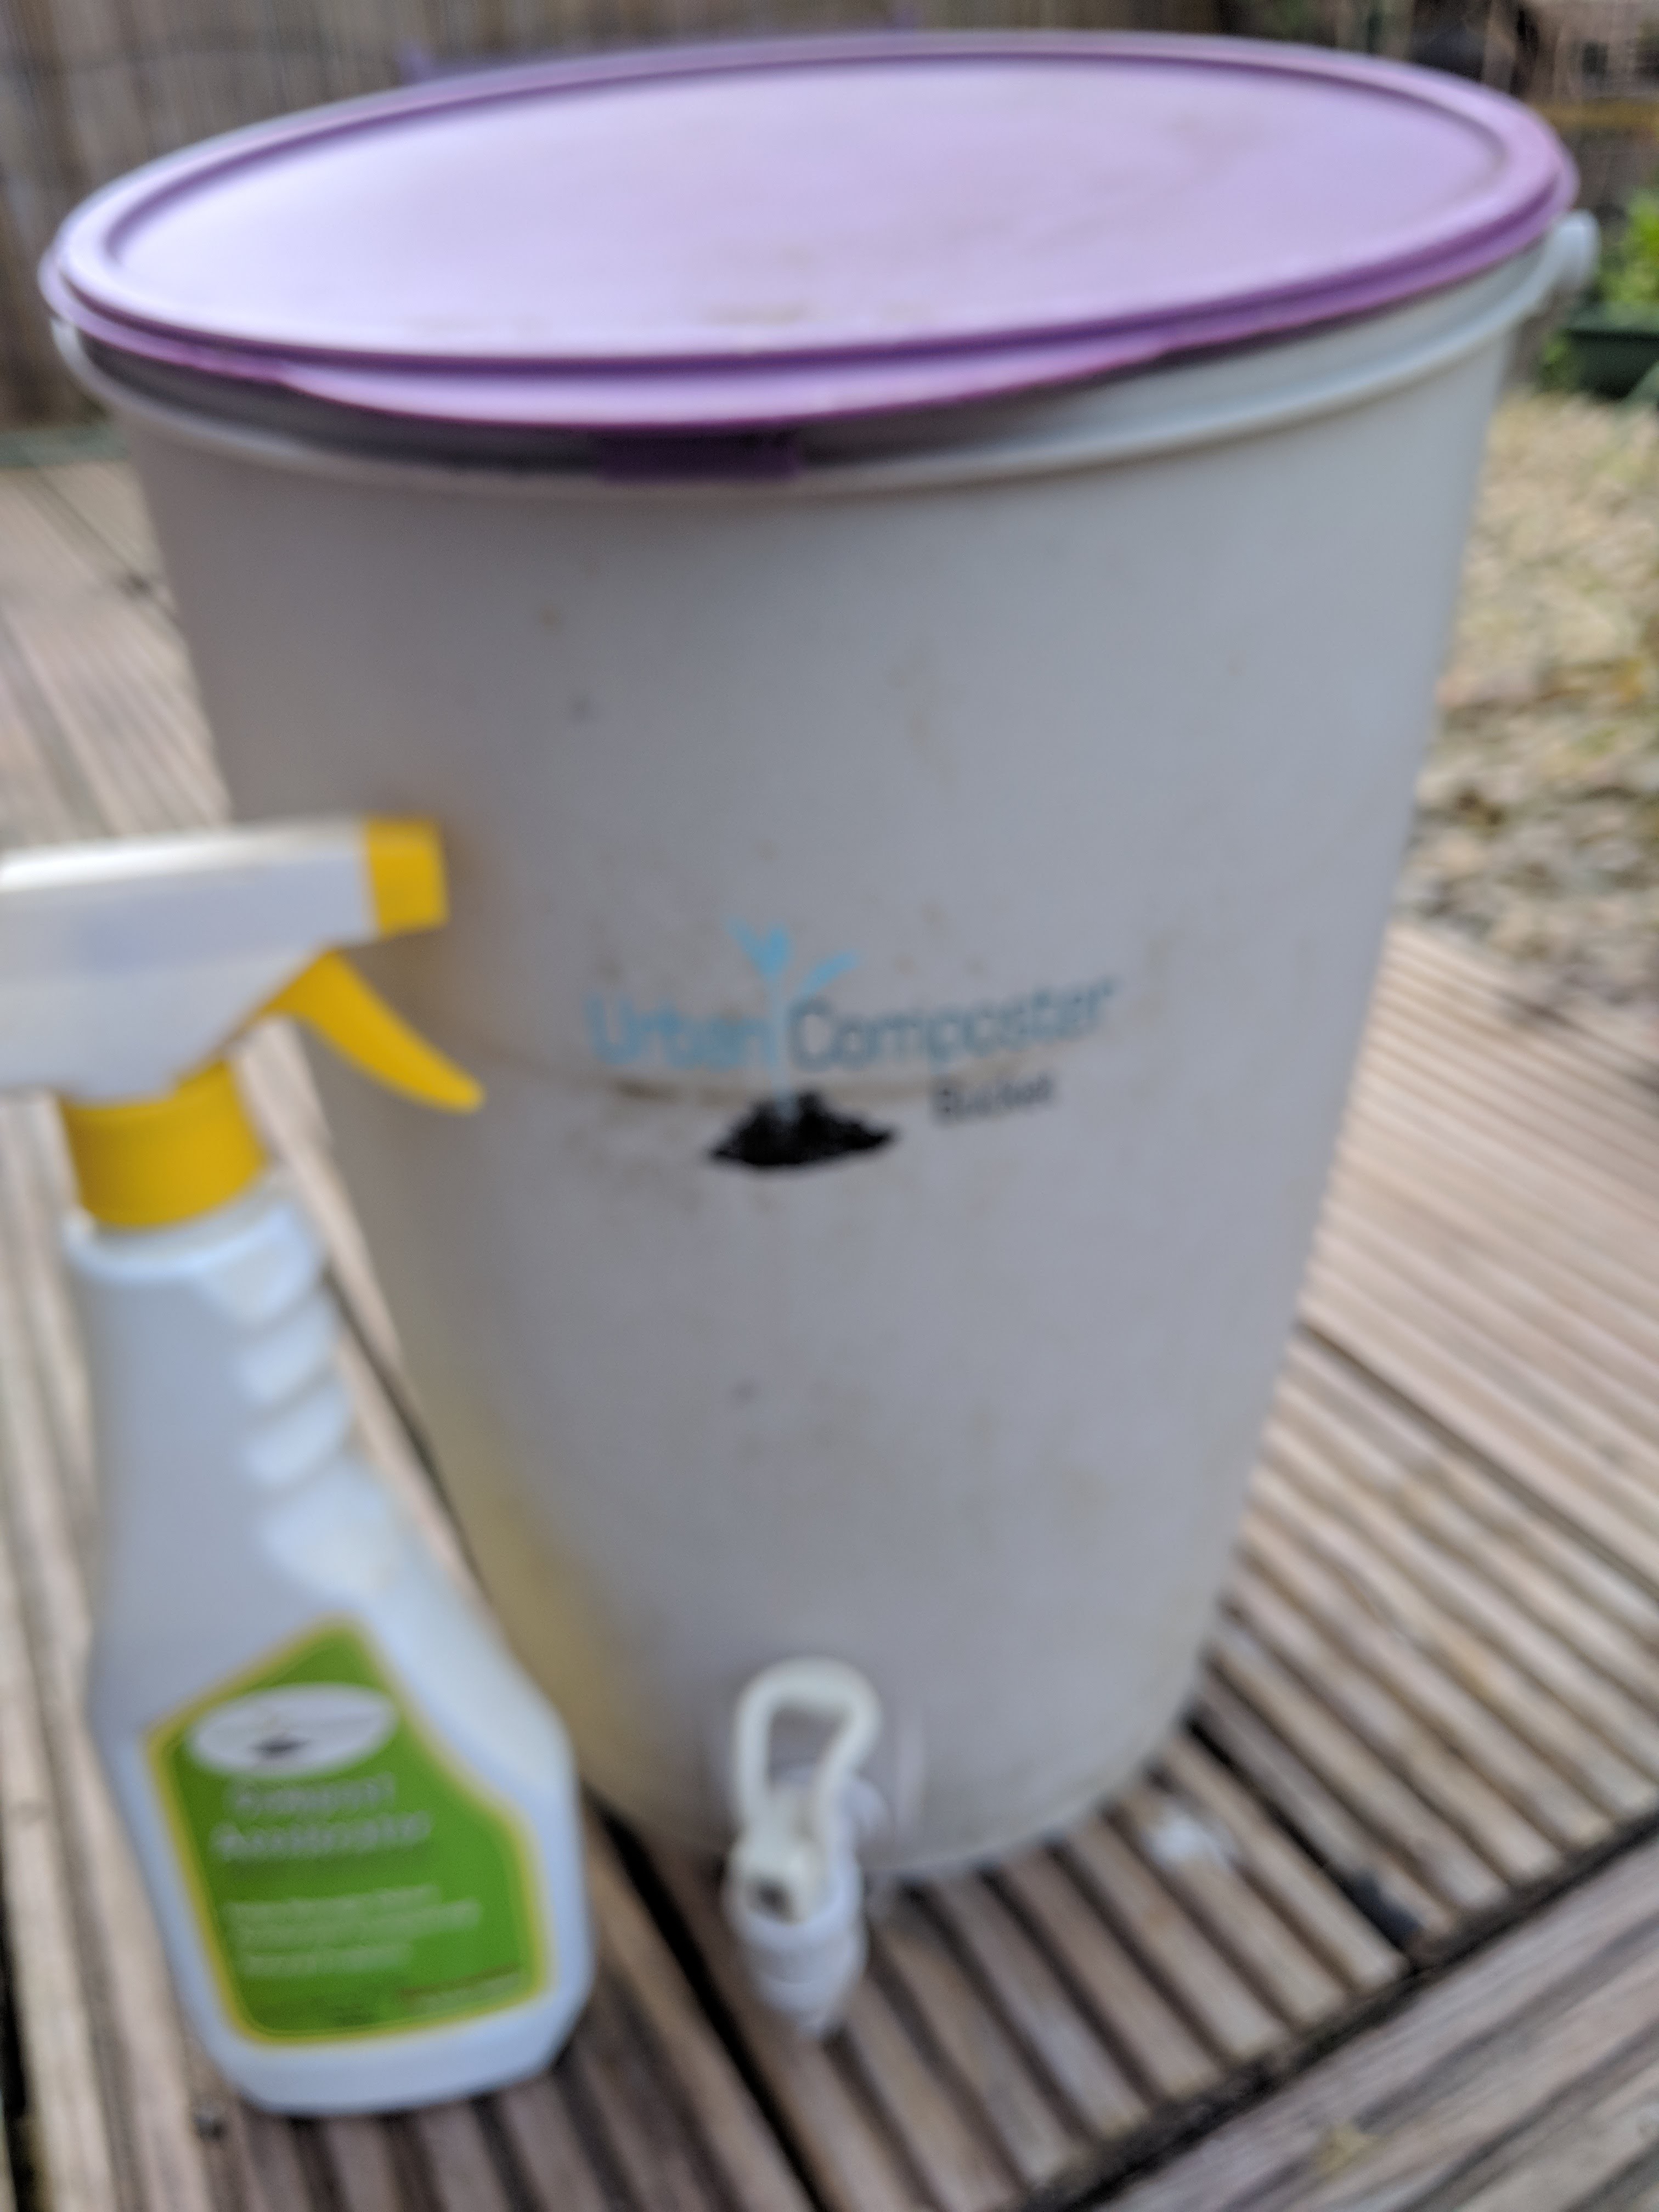
Bokashi bin

New compost bin

Germination
Frustrating first month as waited for ground to dry out, weather to warm up, seedlings to germinate and to find a source of ‘cheap’ manure/compost. But the seeds did germinate and I had them all over the house on window ledges and in my shed. Assiduously labelled everything and enjoyed watching them grow. But quite a few got bit too leggy and spindly before conditions were good enough and I had some beds set up to plant them out. Constantly on search for more cardboard as mulch as I gradually used up all of my stores from the house move. Failed to stick to my plan – carefully drawn up in my garden planner.
Positives – found good source of pallet collars for raised beds. Also tracked down Care Compost for £2 per bag and eventually got hold of the manure man. And most seeds did OK.
Negatives – V disappointed with cheap(!) compost bin I had bought – thought it wouldn’t last (I was right!)
May –

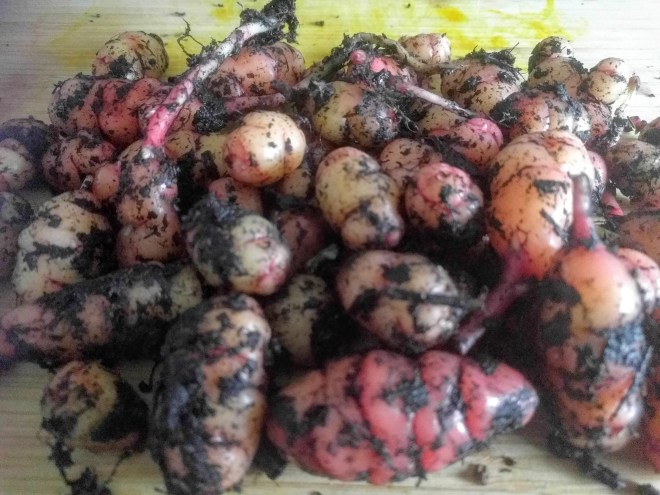
Chitting oca

1st rustic bean frame

Lovely stuff!

Field beans

Loading manure into bed

Scorzonera?

1st bed planted – gooseberries, strawberries with wool fleece protection

Tractor delivery
Mad rush to get everything planted out and established before my trip to Canada at end of month. Financially strapped so couldn’t afford to splash out on enough compost etc so got fewer beds planted up than planned but manure man had eventually put in an appearance – delivery by tractor! Made a start with adding woodchip to paths between beds – with son’s help. First bed planted with free strawberry plants and gooseberry bushes from a Handsworth allotment by way of Gumtree. Constructed some bean wigwams for runners and french beans. Field beans planted out too.
Positives – definite signs of progress and v pleased to actually see some plants in the ground.
Negatives – shortage of compost/money! Huge storms at end of month put paid to some plans before holiday.
June =
First half I was in Seattle/Vancouver whilst kids looked after my plot! Did do a bit of horticultural tourism – a visit to University of British Columbia Farm for the Farmer’s Market and tour of their sustainable farm which was great. Worthy of a whole blog itself but a few pics will have to suffice.

UBC Farmers Market

UBC Farmers Market

UBC Farmers Market

UBC Farmers Market

UBC Farmers Market

UBC Farm Tour

UBC Farm Tour

UBC Farm Tour
Came home mid-month into a heatwave which was to continue for next couple of months or more. Son had done watering and most seedlings had survived but there were a few casualties – notably courgettes and squash which had disappeared completely. A & R had also gone ahead and used pallets I’d left to build a compost bin – not quite the design – or the position – I’d anticipated but I appreciated the gesture 🙂 Its proved useful since for several things but not yet making compost!
I’d missed the allotment auction but my neighbour T had bid on my behalf and I discovered I was now the proud owner of an 8×8 shed and a 20ft long polytunnel:-)

Shed

Polytunnel

Field Beans
Positives – great holiday! Excited by shed & polytunnel
Negatives – loss of courgettes & squash etc. Weeds! Sleepless nights trying to work out how to move shed and polytunnel.
July –

Potatoes in woodchip

More beans

Beetroot

Carrots

Manure with worms

Field Beans

Velvet Queen – a stunner

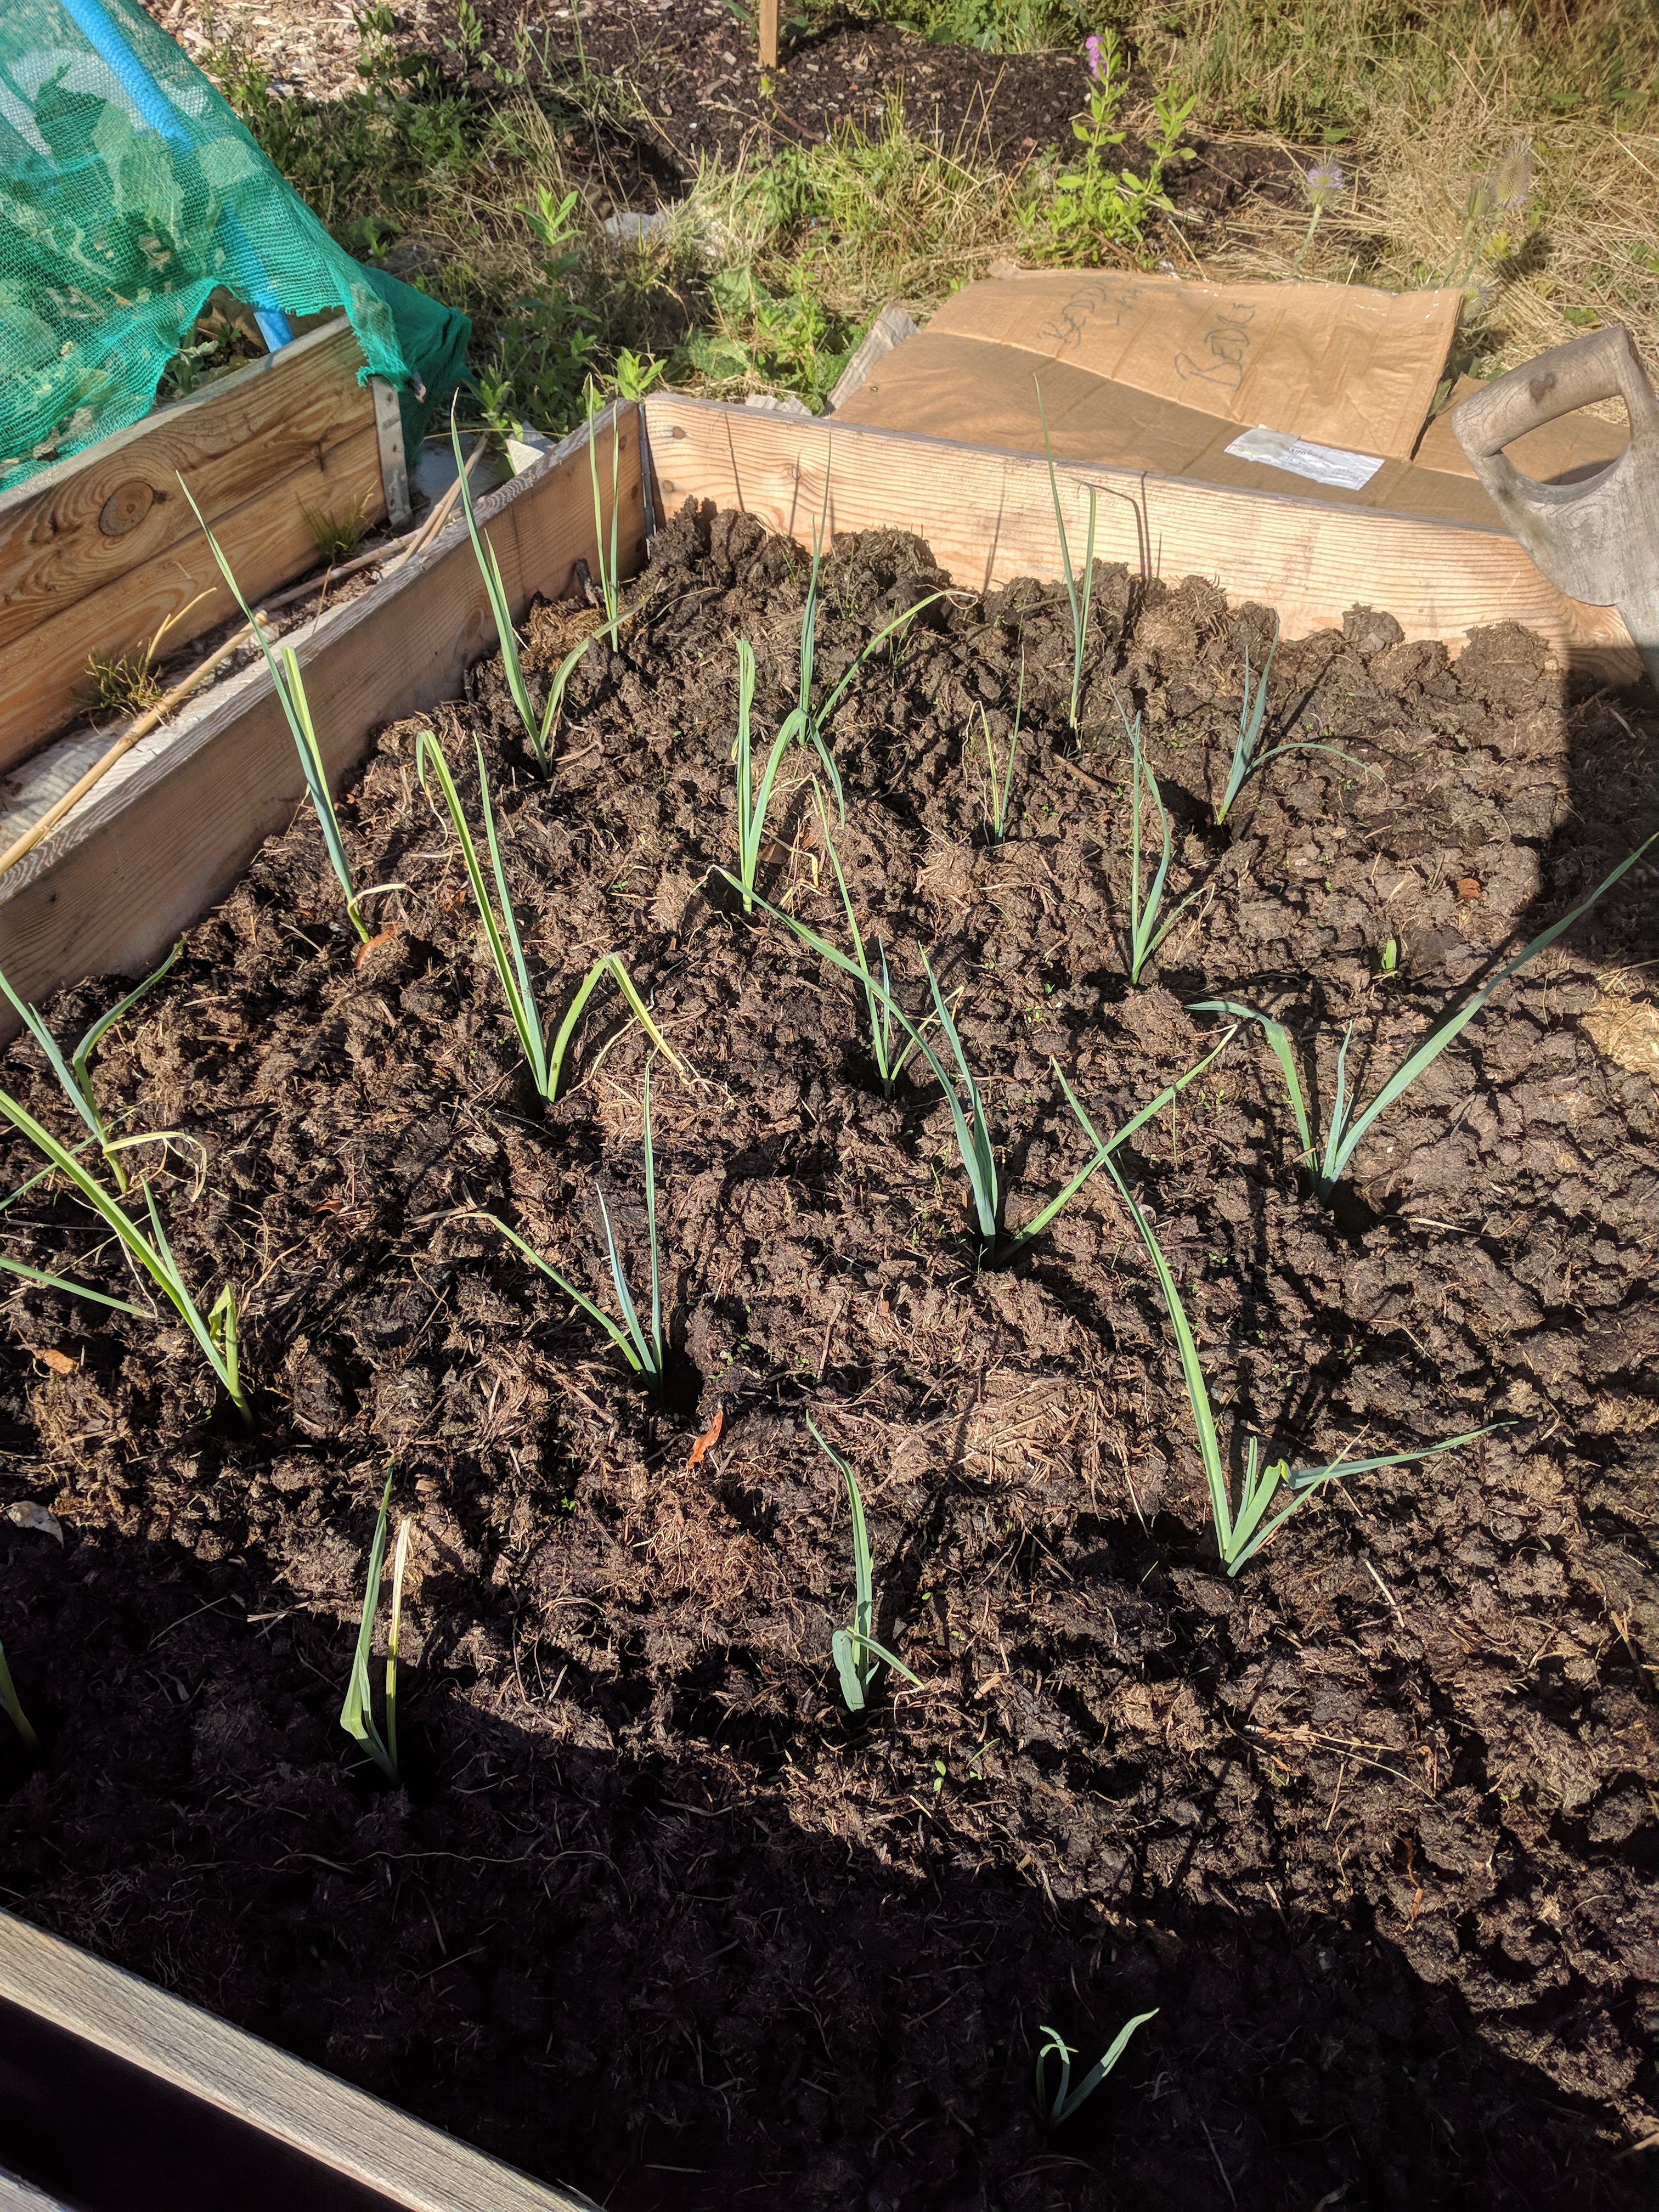
Leeks

1sr French beans – Cosse violette

Onions – Red Baron
Well this is when I really started to see results! Real actual harvests! From tiny seeds germinating on my windowsill back in the cold of spring to harvesting radish, onions, potatoes, carrots and beans in the heat of summer. This felt like success. But was still struggling to get my replanted courgettes & squash going and was on to my third unsuccessful sowing of lettuce. And there were some other casualties too – achocha, brassicas looking very peaky and most of my raspberry canes had all succumbed to heat or insects.
Positives – harvests and my beautiful Velvet Queen sunflowers
Negatives – hours of watering, crop losses and still those sleepless nights working out the logistics of moving shed & polytunnel!
August –

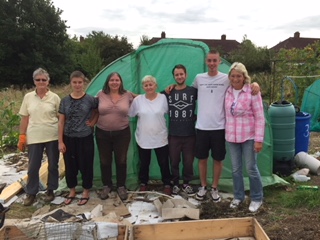
Aidan & me

Propping upthe beans – again!

Tree spinach

Bergamot

Digging trench for the polytunnel

Bee friendly sunflower

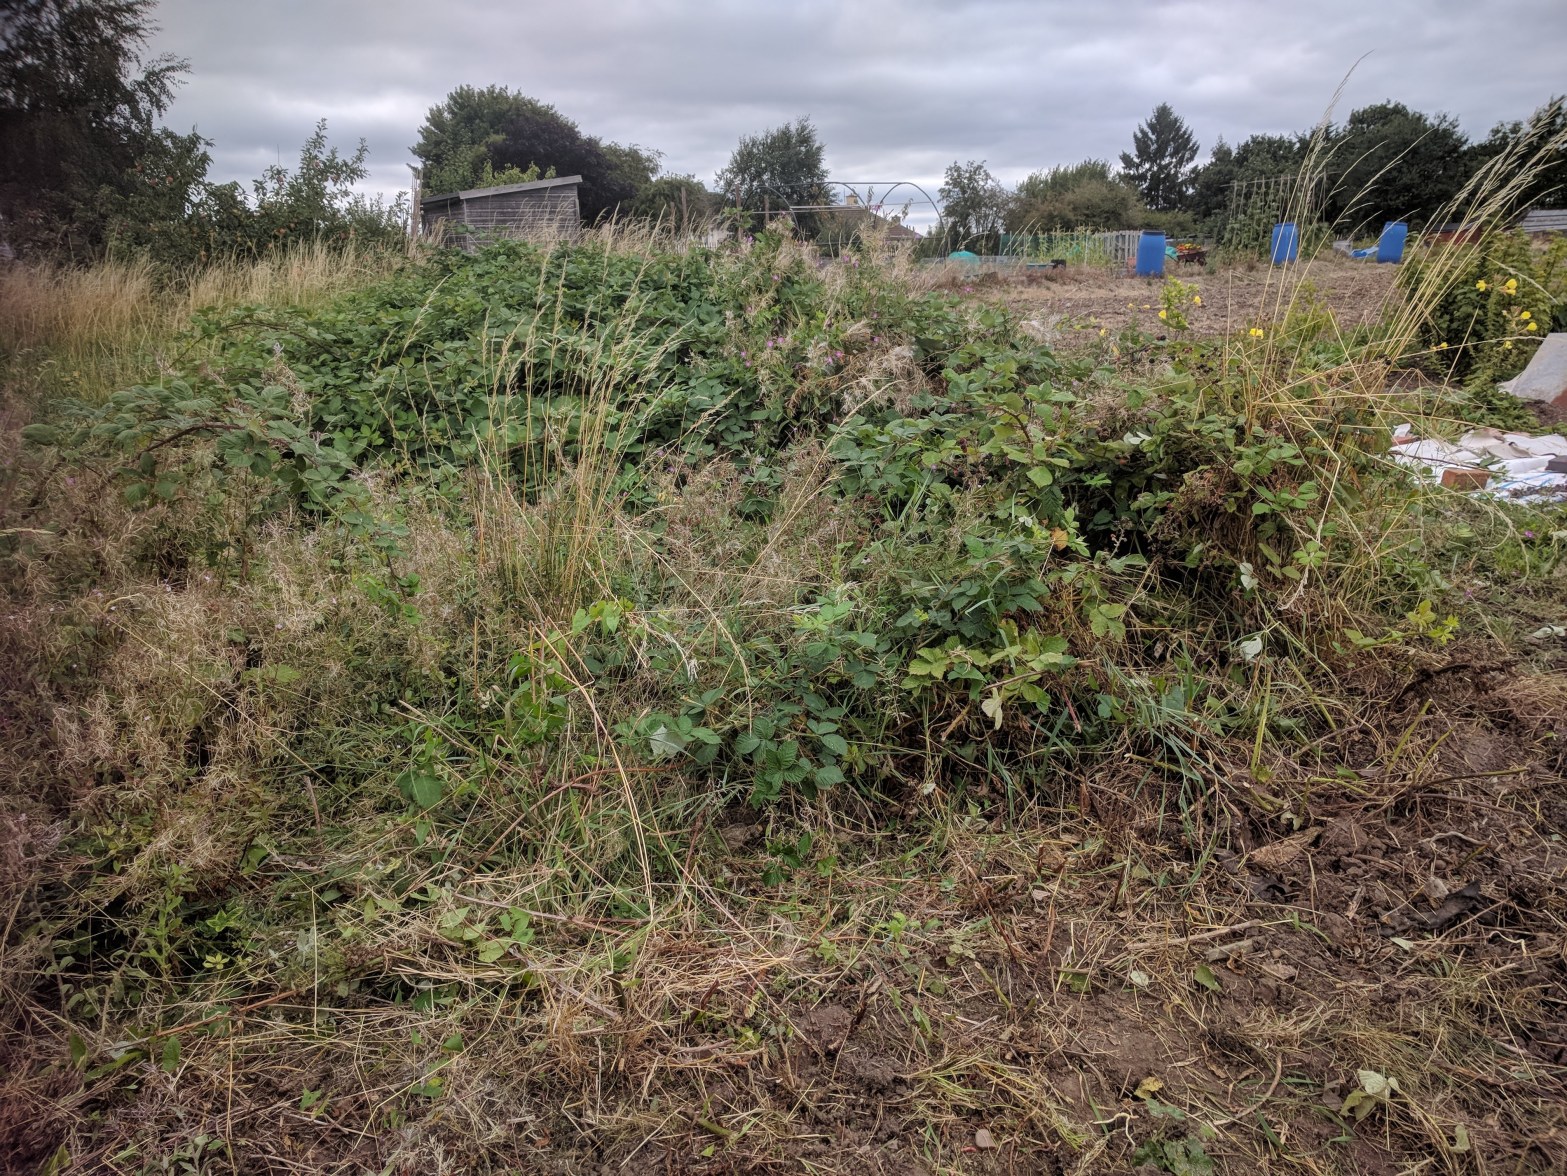
Tackling the brambles – this will be site of my mini-food-forest

A little helping hand with clearing brambles

Fermenting purple french beans

Chinese Gooseberry in the garden

Summer gloriousness of Velvet Queen

Chinese gooseberry
The heatwave continued unabated and lots of time still spent on watering. Some things still looked peaky – brassicas very motheaten (probably literally!) but decided not to uproot in the hope they’d perk up and I hadn’t got any plants to replace them with anyway! Still very little progress with the courgettes/squash and sweetcorn very slow. But lots of purple french beans (Cosse Violette) so had a go at fermenting some with OK results even if they lost their colour.
Having acquired blackcurrants from my neighbour’s plot in July this month I found plums & damsons on trees at the margin of our site – and apples in the communal ‘orchard’ – they found their way into crumbles and gin. And sheltering from a sudden deluge in one of my neighbours many structures I made good use of my time and helped myself to a couple of bags of her blackberries (with permission of course!) Good size but flavour not so good as wild brambles.
Had a helping hand from son and we made an impact on tackling a lot of weeds and brambles at top of plot and covered over to prevent further growth. Plan to put shed and move compost bin up here. After some rain we also managed to dig out the polytunnel I’d bought and my sister then helped dig out a couple of trenches around the space where it was going to go on my plot.
Positives: Clearing weeds, harvesting, and general progress
Negatives: Clearing weeds and sleepless nights thinking about the polytunnel!
September –
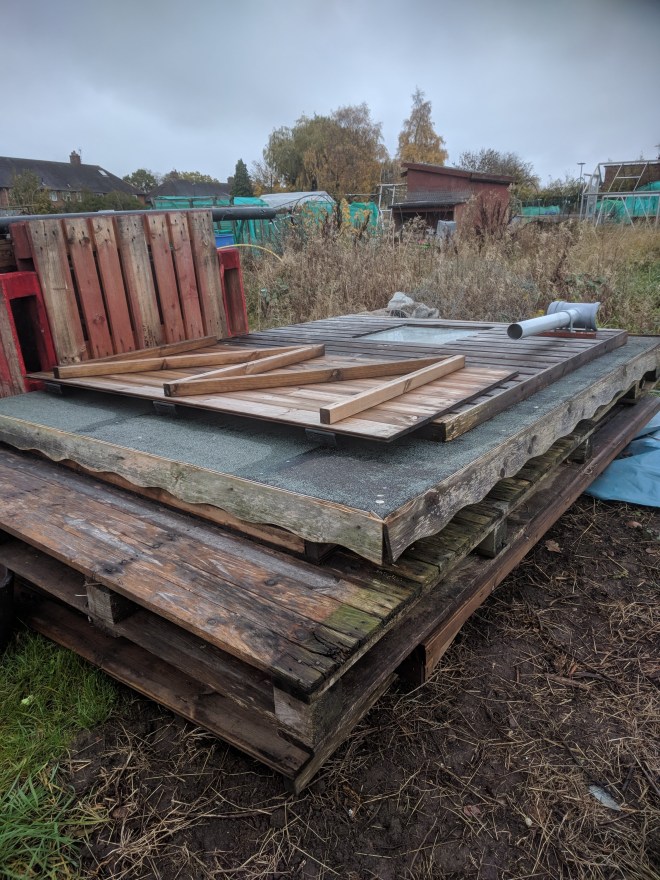
Month started very well with the moving of the polytunnel:
And then there was even some planting in the polytunnel:
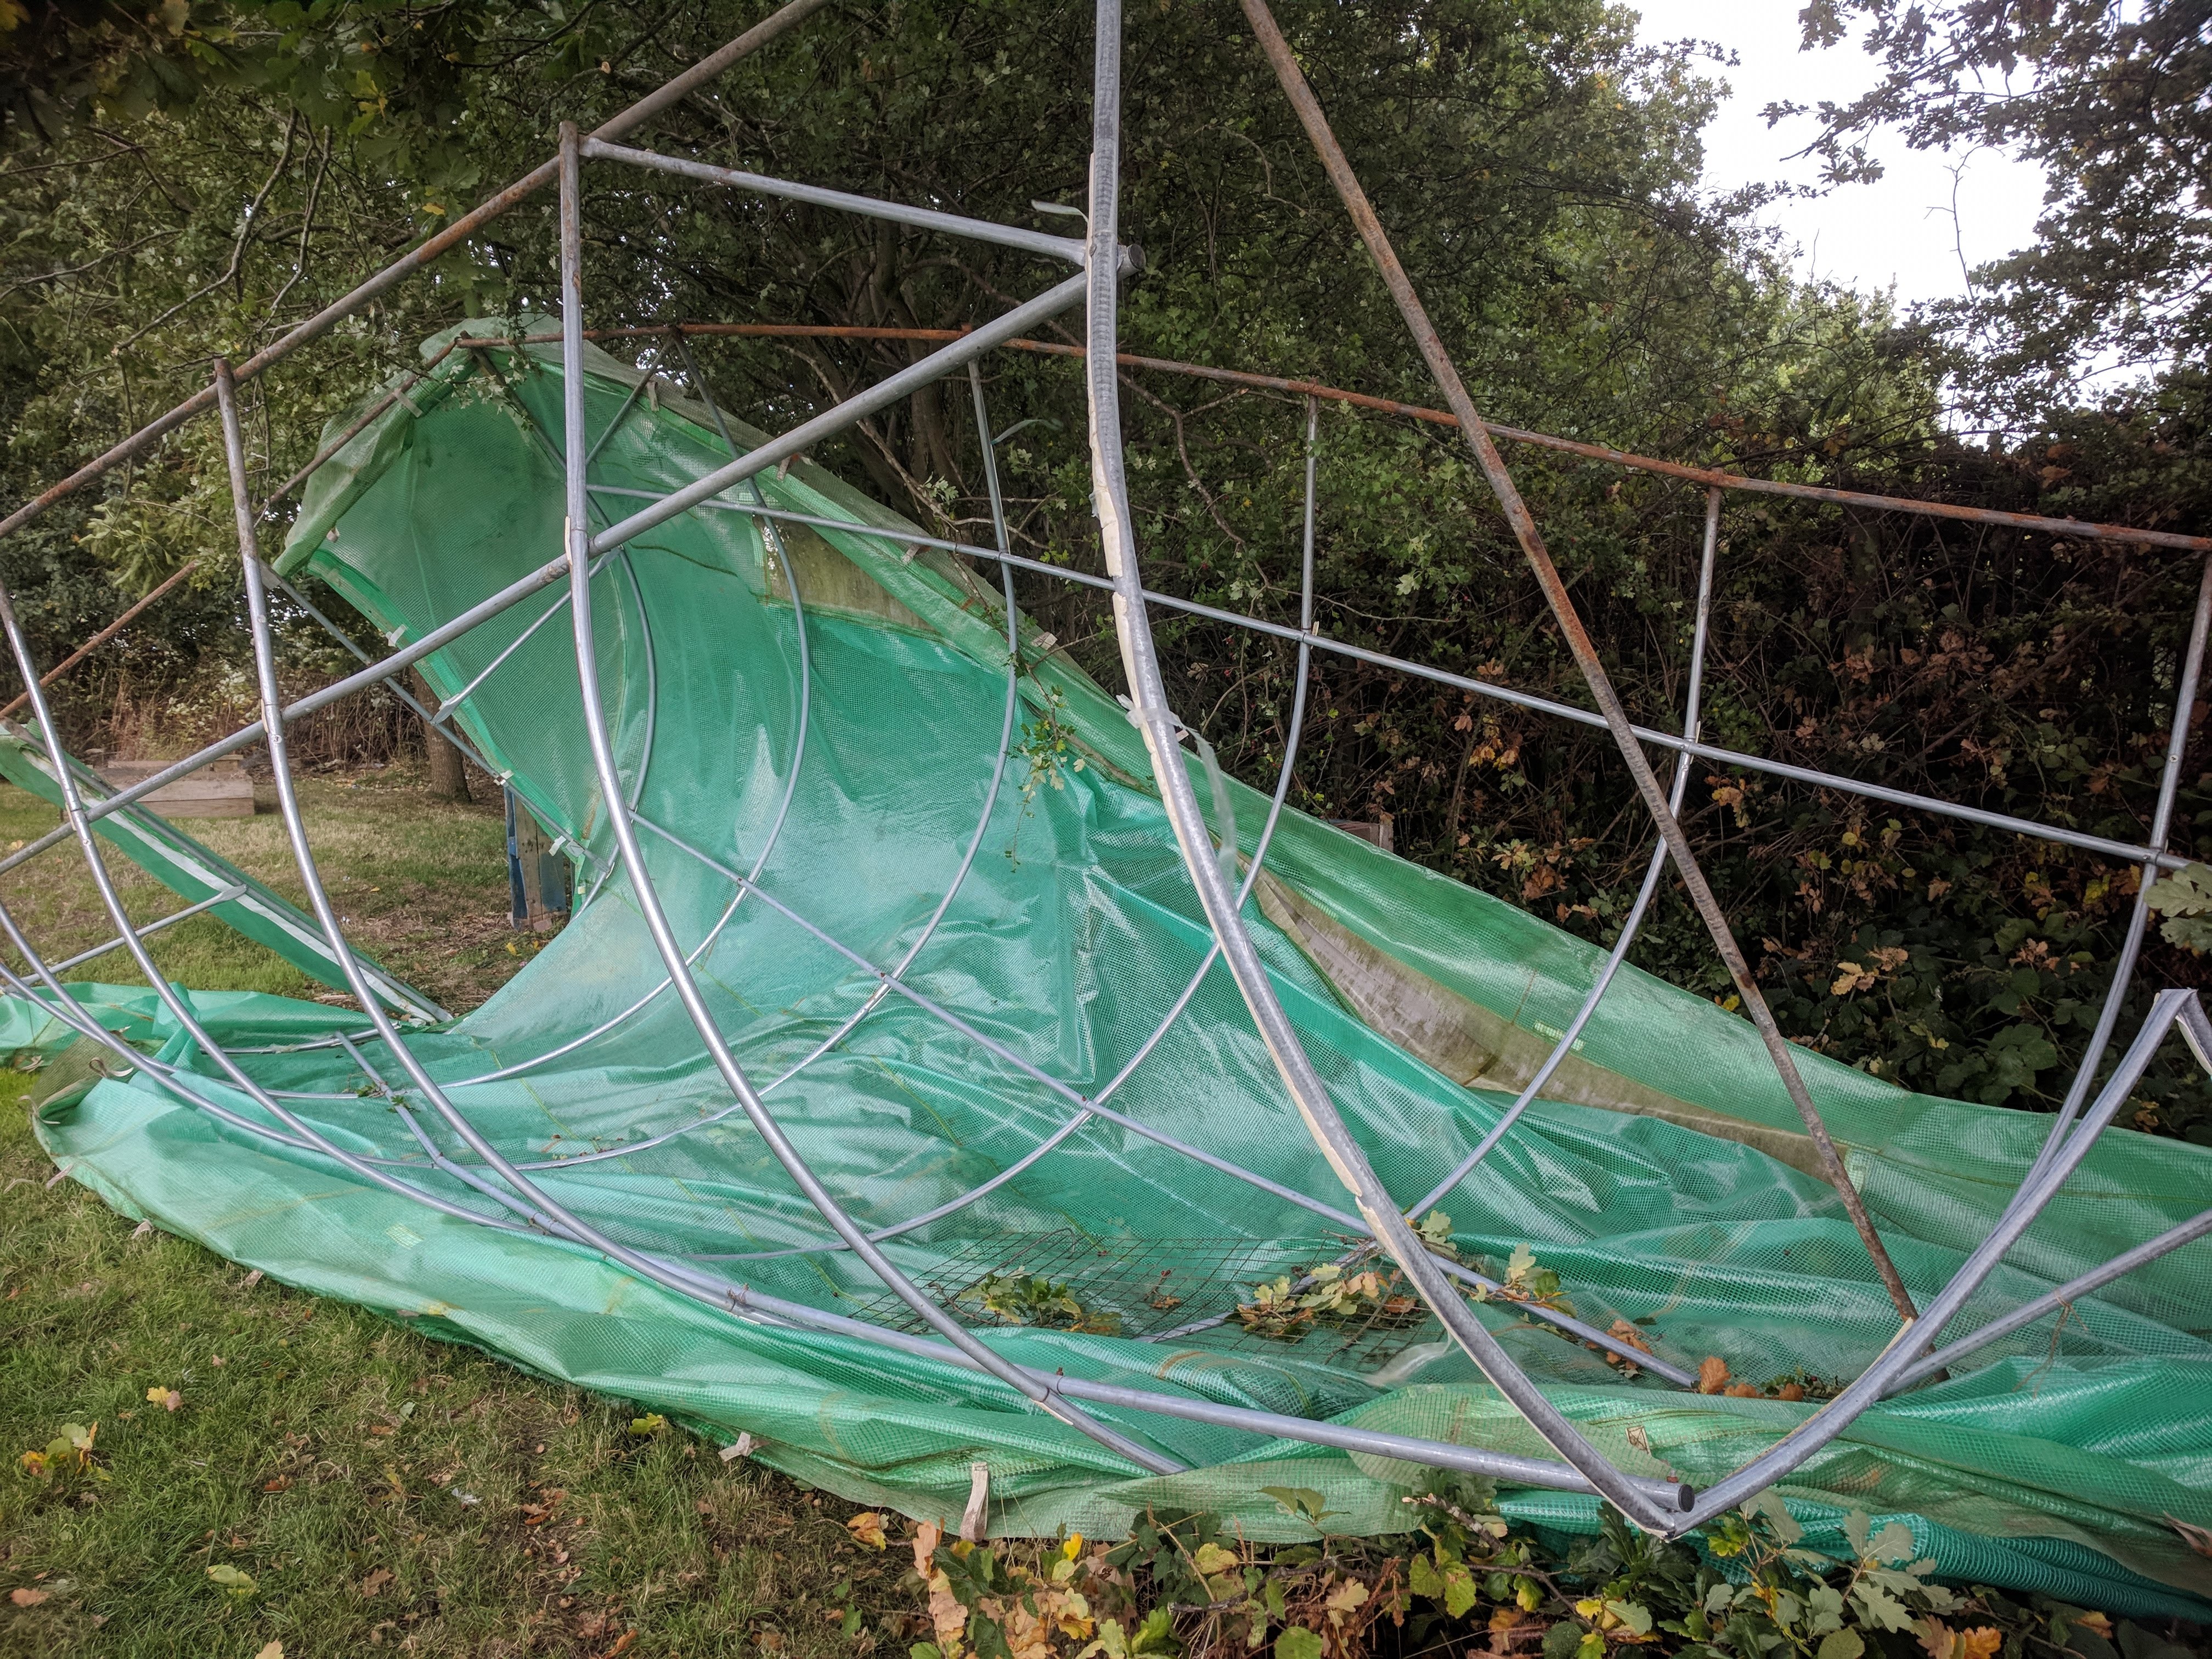
But then we had the first of the named UK storms – Storm Ali – and this was the result:
Oh dear! I hadn’t completed the job of digging in the polythene cover – but it seemed sturdy enough and had been weighted down either side so I couldn’t imagine it moving very far. But the day I went to tackle the digging in ahead of impending storm Bronagh I walked down the path and suddenly realised I couldn’t see it behind my neighbours’ runner beans as I approached. It simply wasn’t there – and at first glance it wasn’t anywhere in sight at all. It was only after I’d walked up to the top of my plot that I spotted in in the distance having come to rest against someone’s compost bin right up against the boundary trees. I managed to get the cover off – surprisingly appearing to be in one piece with only a couple of small tears in the ventilation mesh – and stashed away. The frame appeared pretty mangled on first view but at the time of writing I have a plan to salvage it if possible with the help of Dave on my neighbouring plot. So all may not be lost just yet!
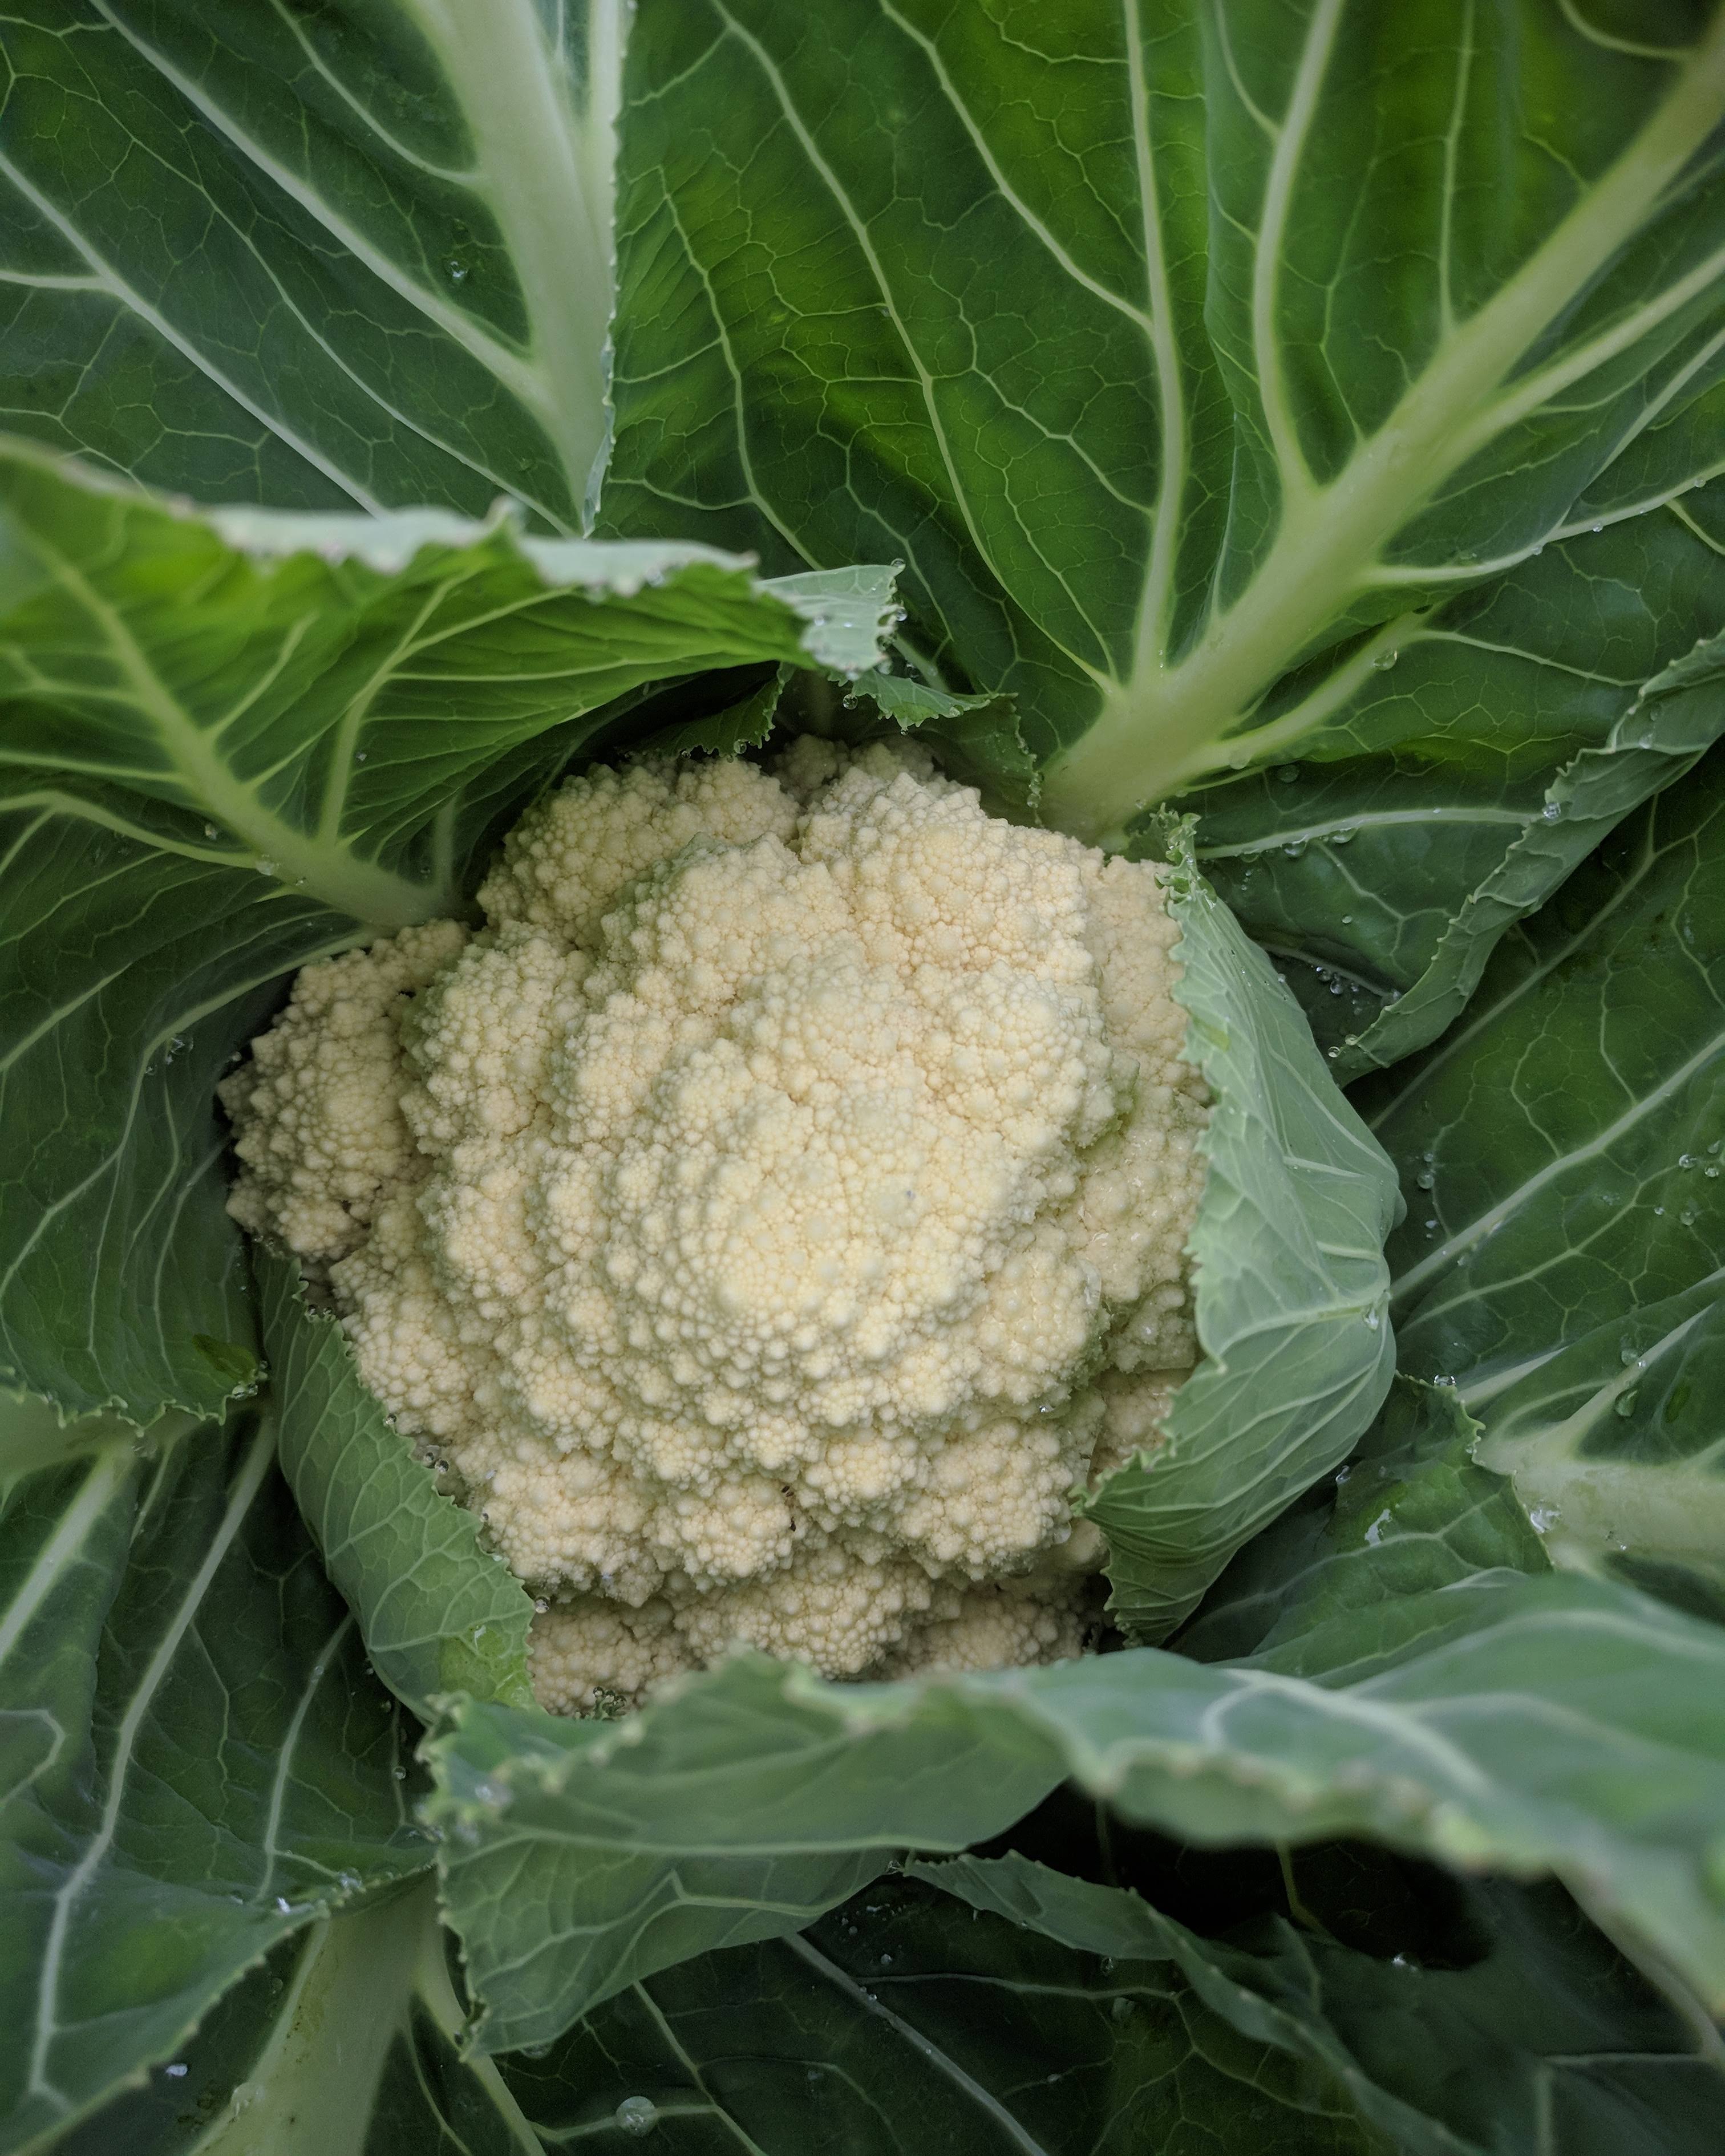
September wasn’t completely a failure – I discovered that where allotment growing is concerned patience really is a virtue! I finally harvested my first courgettes, lettuce, broccoli and kale. But can’t claim the tromboncino – that was from Kings Norton Farmers’ Market.

Morton’s Secret Lettuce Mix

Mange tout with flowers

Tromboncino – from farmer’s market

Tree spinach next to oca

First courgette 🙂

Mizuna seedlings

Yellow courgettes

Pink tresses on sweetcorn
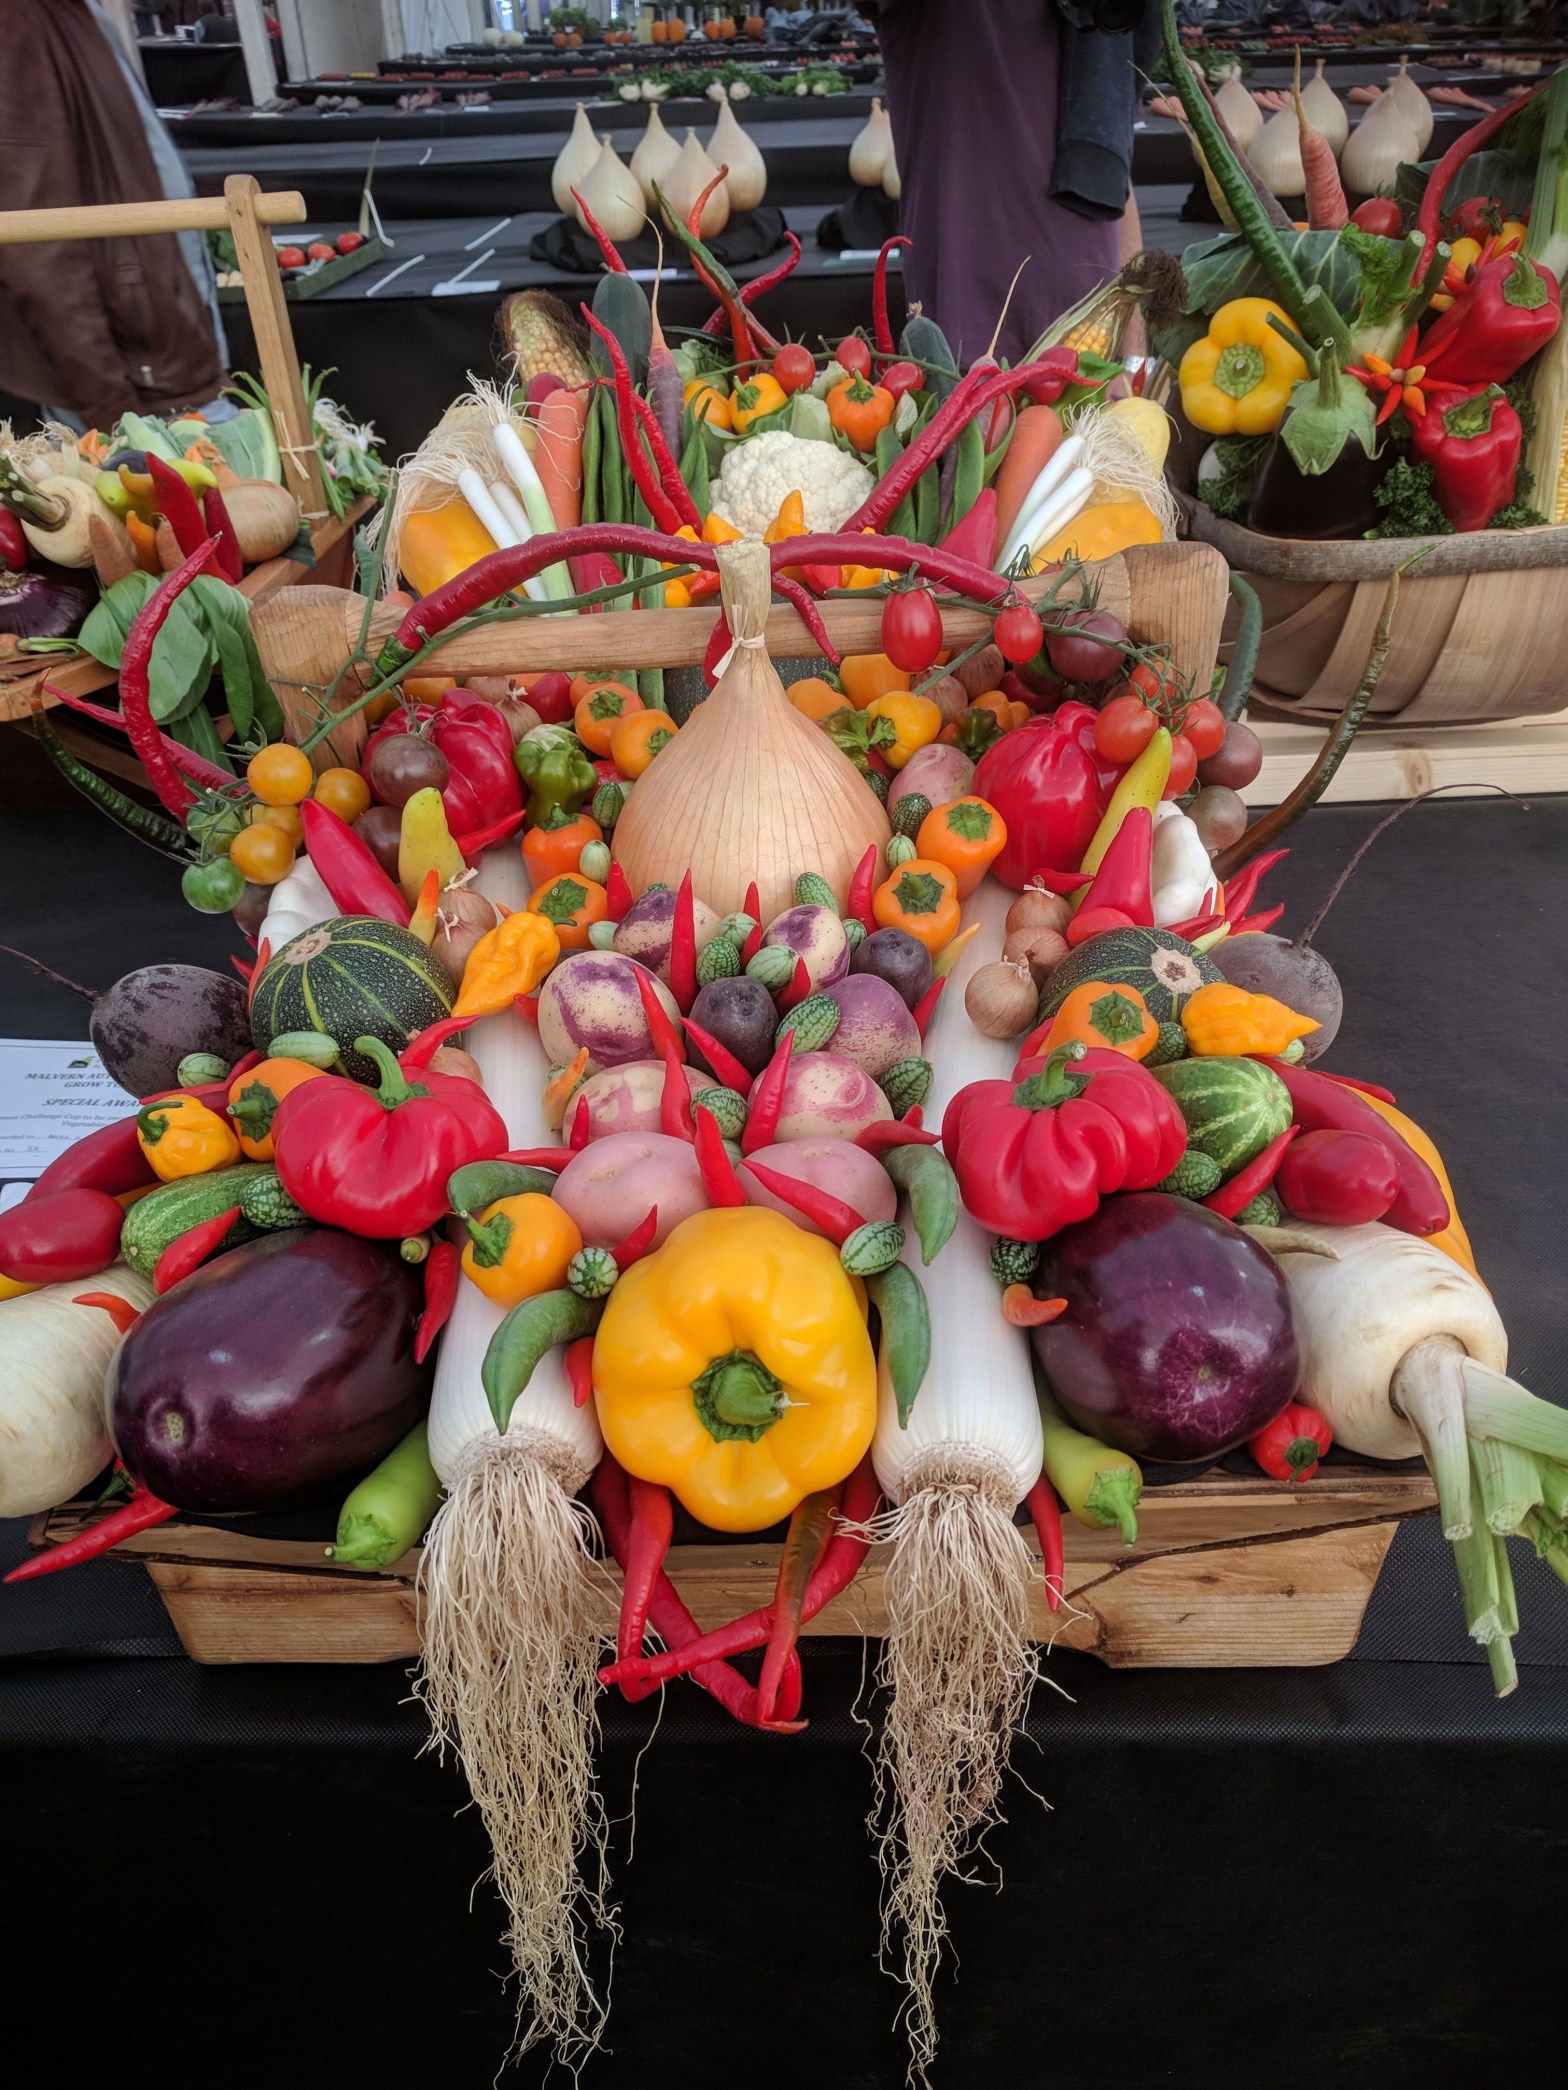
And the month – and my first six months of being allotmenteer ended with a real treat. No! – not my Allotment Association AGM at which my election as treasurer at an earlier EGM was confirmed 😉 But a trip with my sister to the Malvern Autumn Show – an absolute delight.

Black Spanish raddish

Bloody ploughman

Giant marrows

Pink sorbet Rowan

Vegetable trug

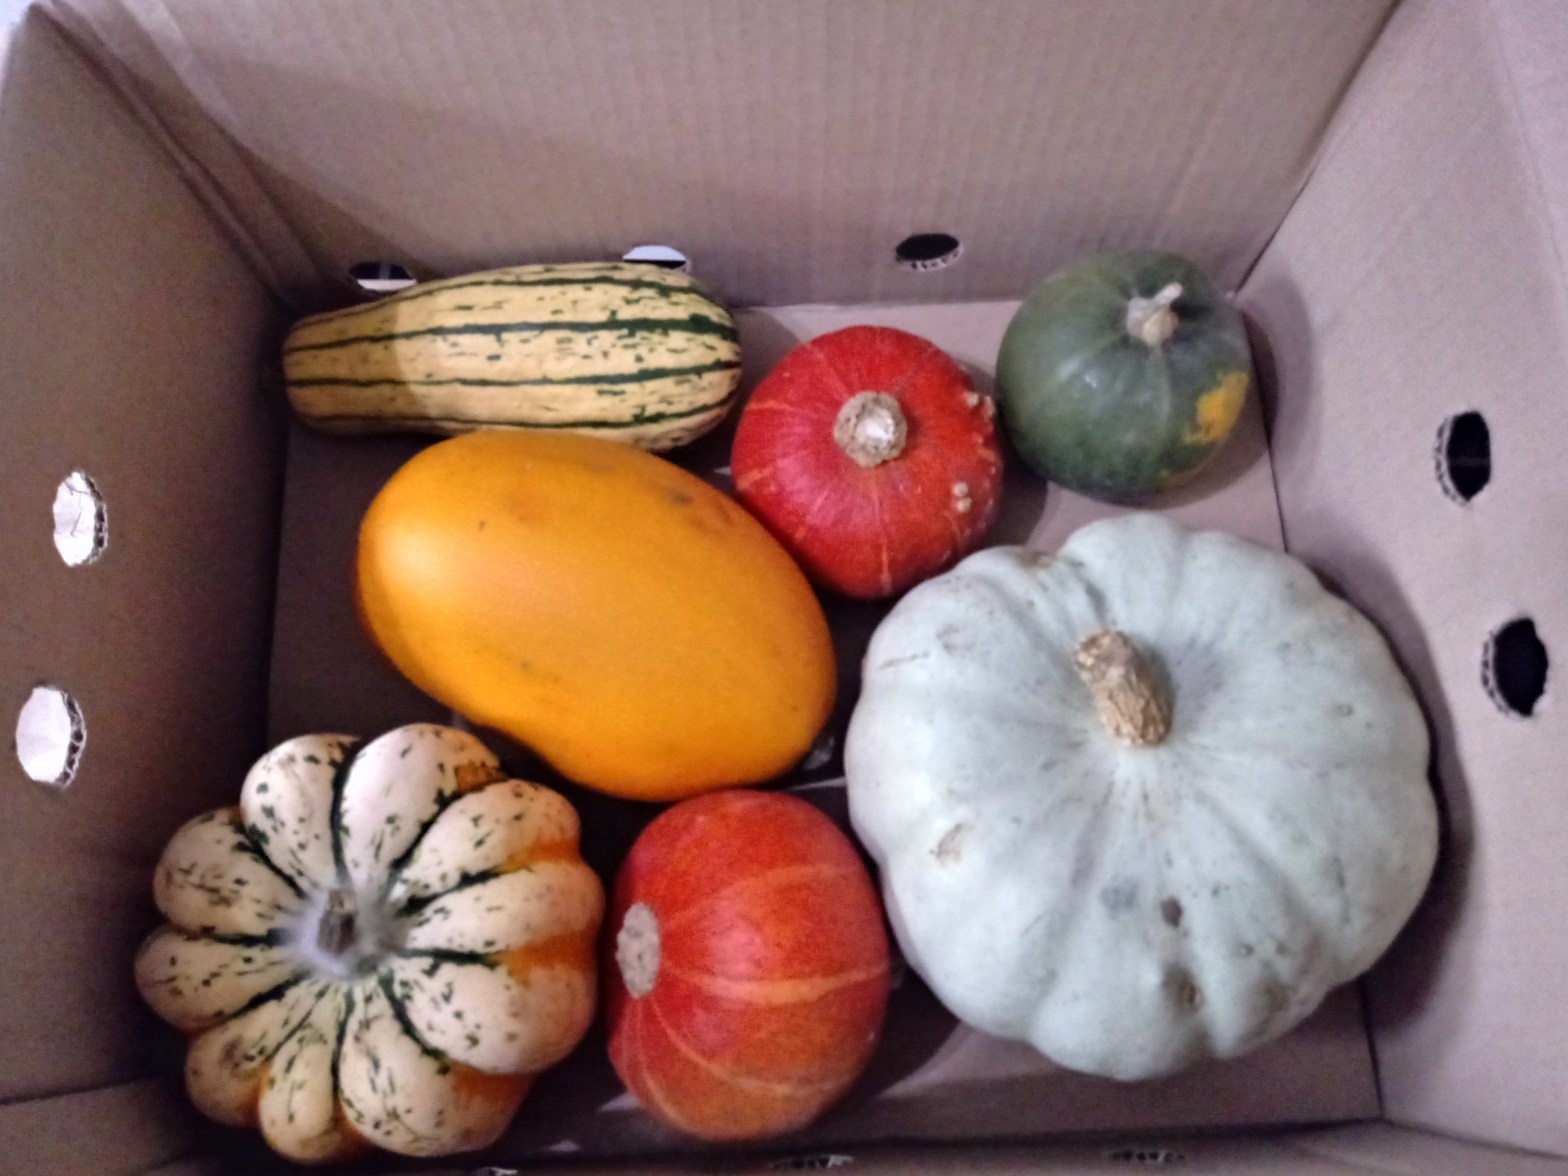
Pumpkin

Orchard fruit

Winning vegetable display

Giant tomatoes

Vegetable trug

Apple tasting

Apples galore!

Giant kohlrabi?

Perry pears

Hops

Giant cabbage

Cider making

Orchard cornucopia

Pitmaston Pineapple

Best commercial apples – red ones?!

Giant pumpkin

Gin still
Watch out for more frequent installments …… or follow me on Twitter.


 – taking a few leaves at a time from each plant. Throughout the summer I’d had no success at all despite several sowings but by September my last sowing had germinated and despite a slow start finally produced a decent crop and the plants are still going strong. This mix includes Reds, greens, brights, darks, splashes, blushes, crisps, butters, leafs, heads, and tongues. The mix is really attractive in a salad and all of them are tasty.I’m harvesting a bag full of leaves about once a week. Surprisingly they last really well in the fridge – much better than a commercial bag of salad despite them probably being in a protective atmosphere (at least until the bag is opened!).
 mizuna and with some mustard greens too. I was intending to make some successional sowings but haven’t gotten around to it (yet!) But if the mizuna keeps producing as well as it is at the moment maybe it’ll keep me going all winter….
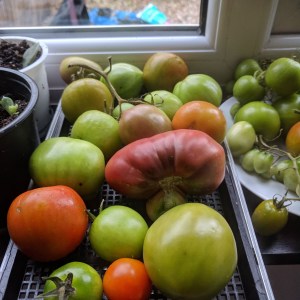 now although I do still have some from my garden ripening on the kitchen windowsill. I’m not a huge fan of chutneys (have to confess I prefer Branston pickle) so will wait for them to ripen gradually. I do fry some of them green and have with a breakfast fry-up.
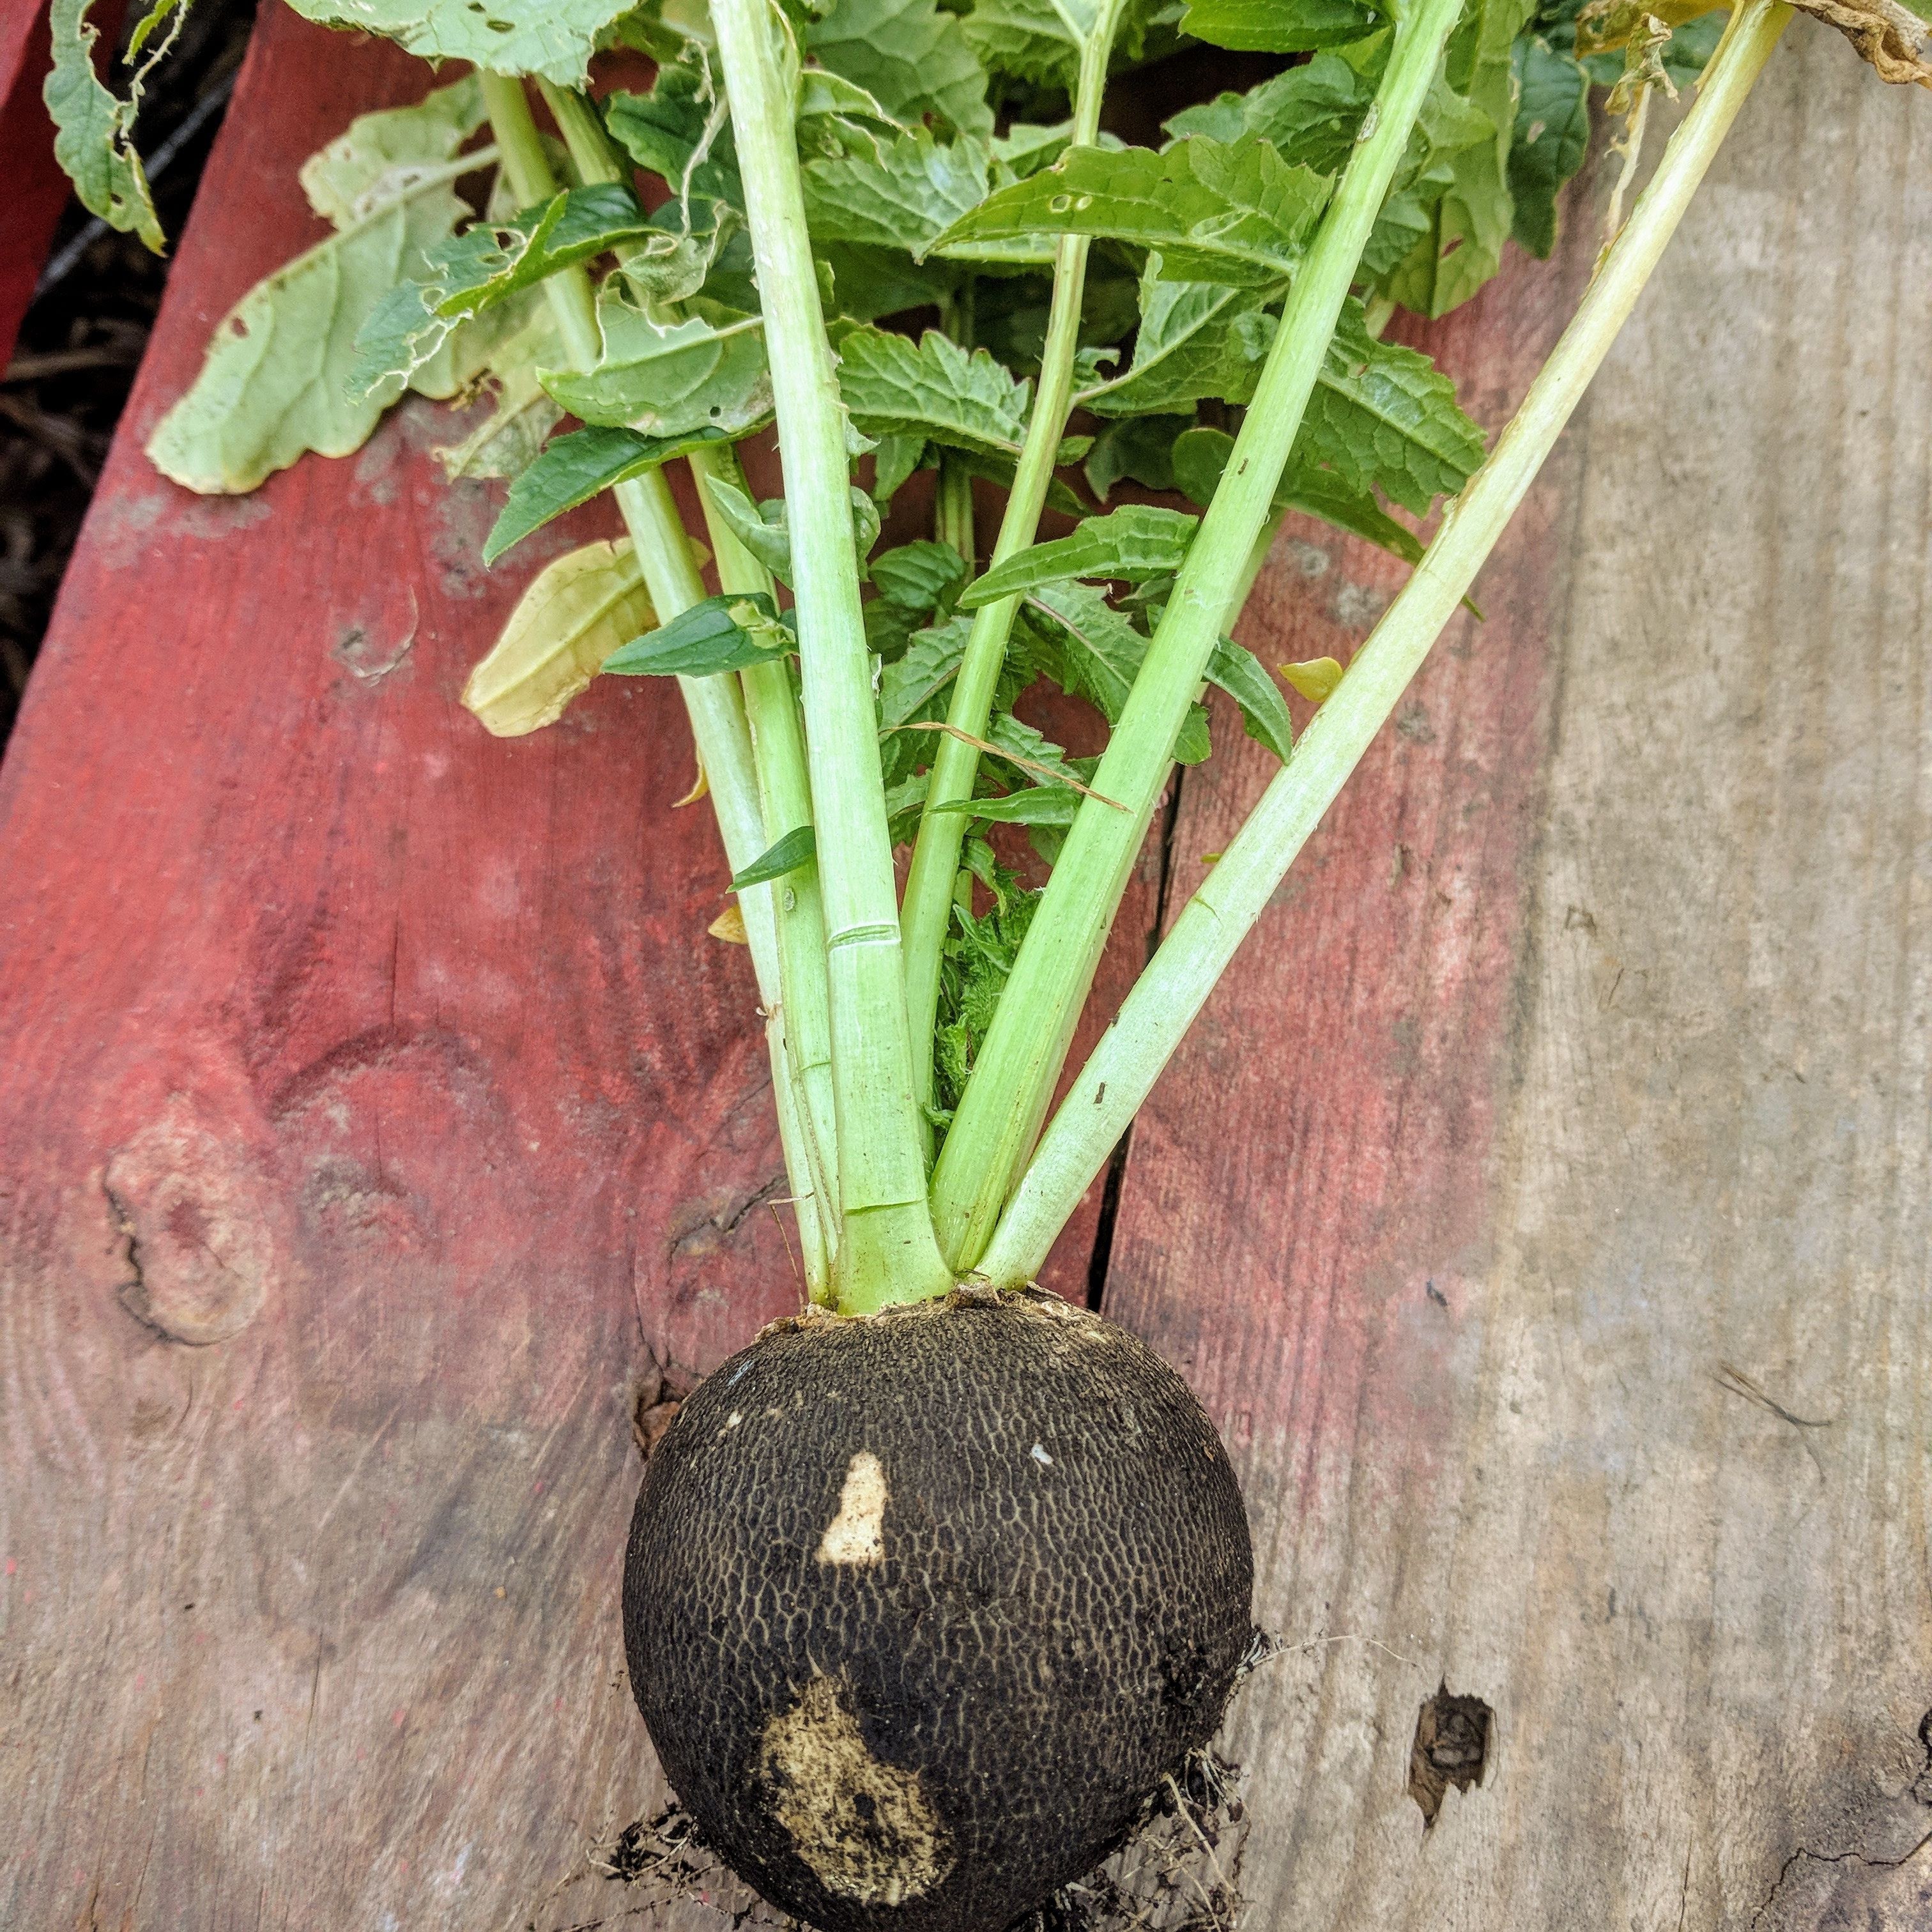 actually taste quite pleasant. So I’ve tried some Spanish black radish


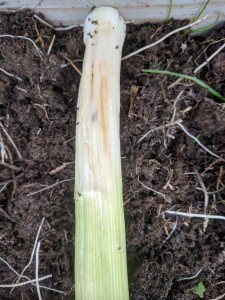 which have been infected by the dreaded allium leaf miner. The green leaves showed no signs so I was unaware of it until I harvested a couple of stems last week. So I’ve now harvested them all and disposed of any infected material. And so instead of a crop that I hope would keep me going over winter, I’ve been left with a few usable remnants that might just be enough to make me cup-of-soup! And of course, I am also a tad worried in case the bugs get onto my young garlic or onions. I’d planted elephant garlic in a gap in the leek bed but following the discovery of the ‘miners’ thought I should move them before they got too established. But furtling around in the soil to find them as they don’t have any green growth yet I was surprised to discover how much root growth they had put on. I didn’t feel I wanted to disturb them as they were doing well so decided to take a chance on leaving them in situ and will cover them with mesh to prevent any later infestations.


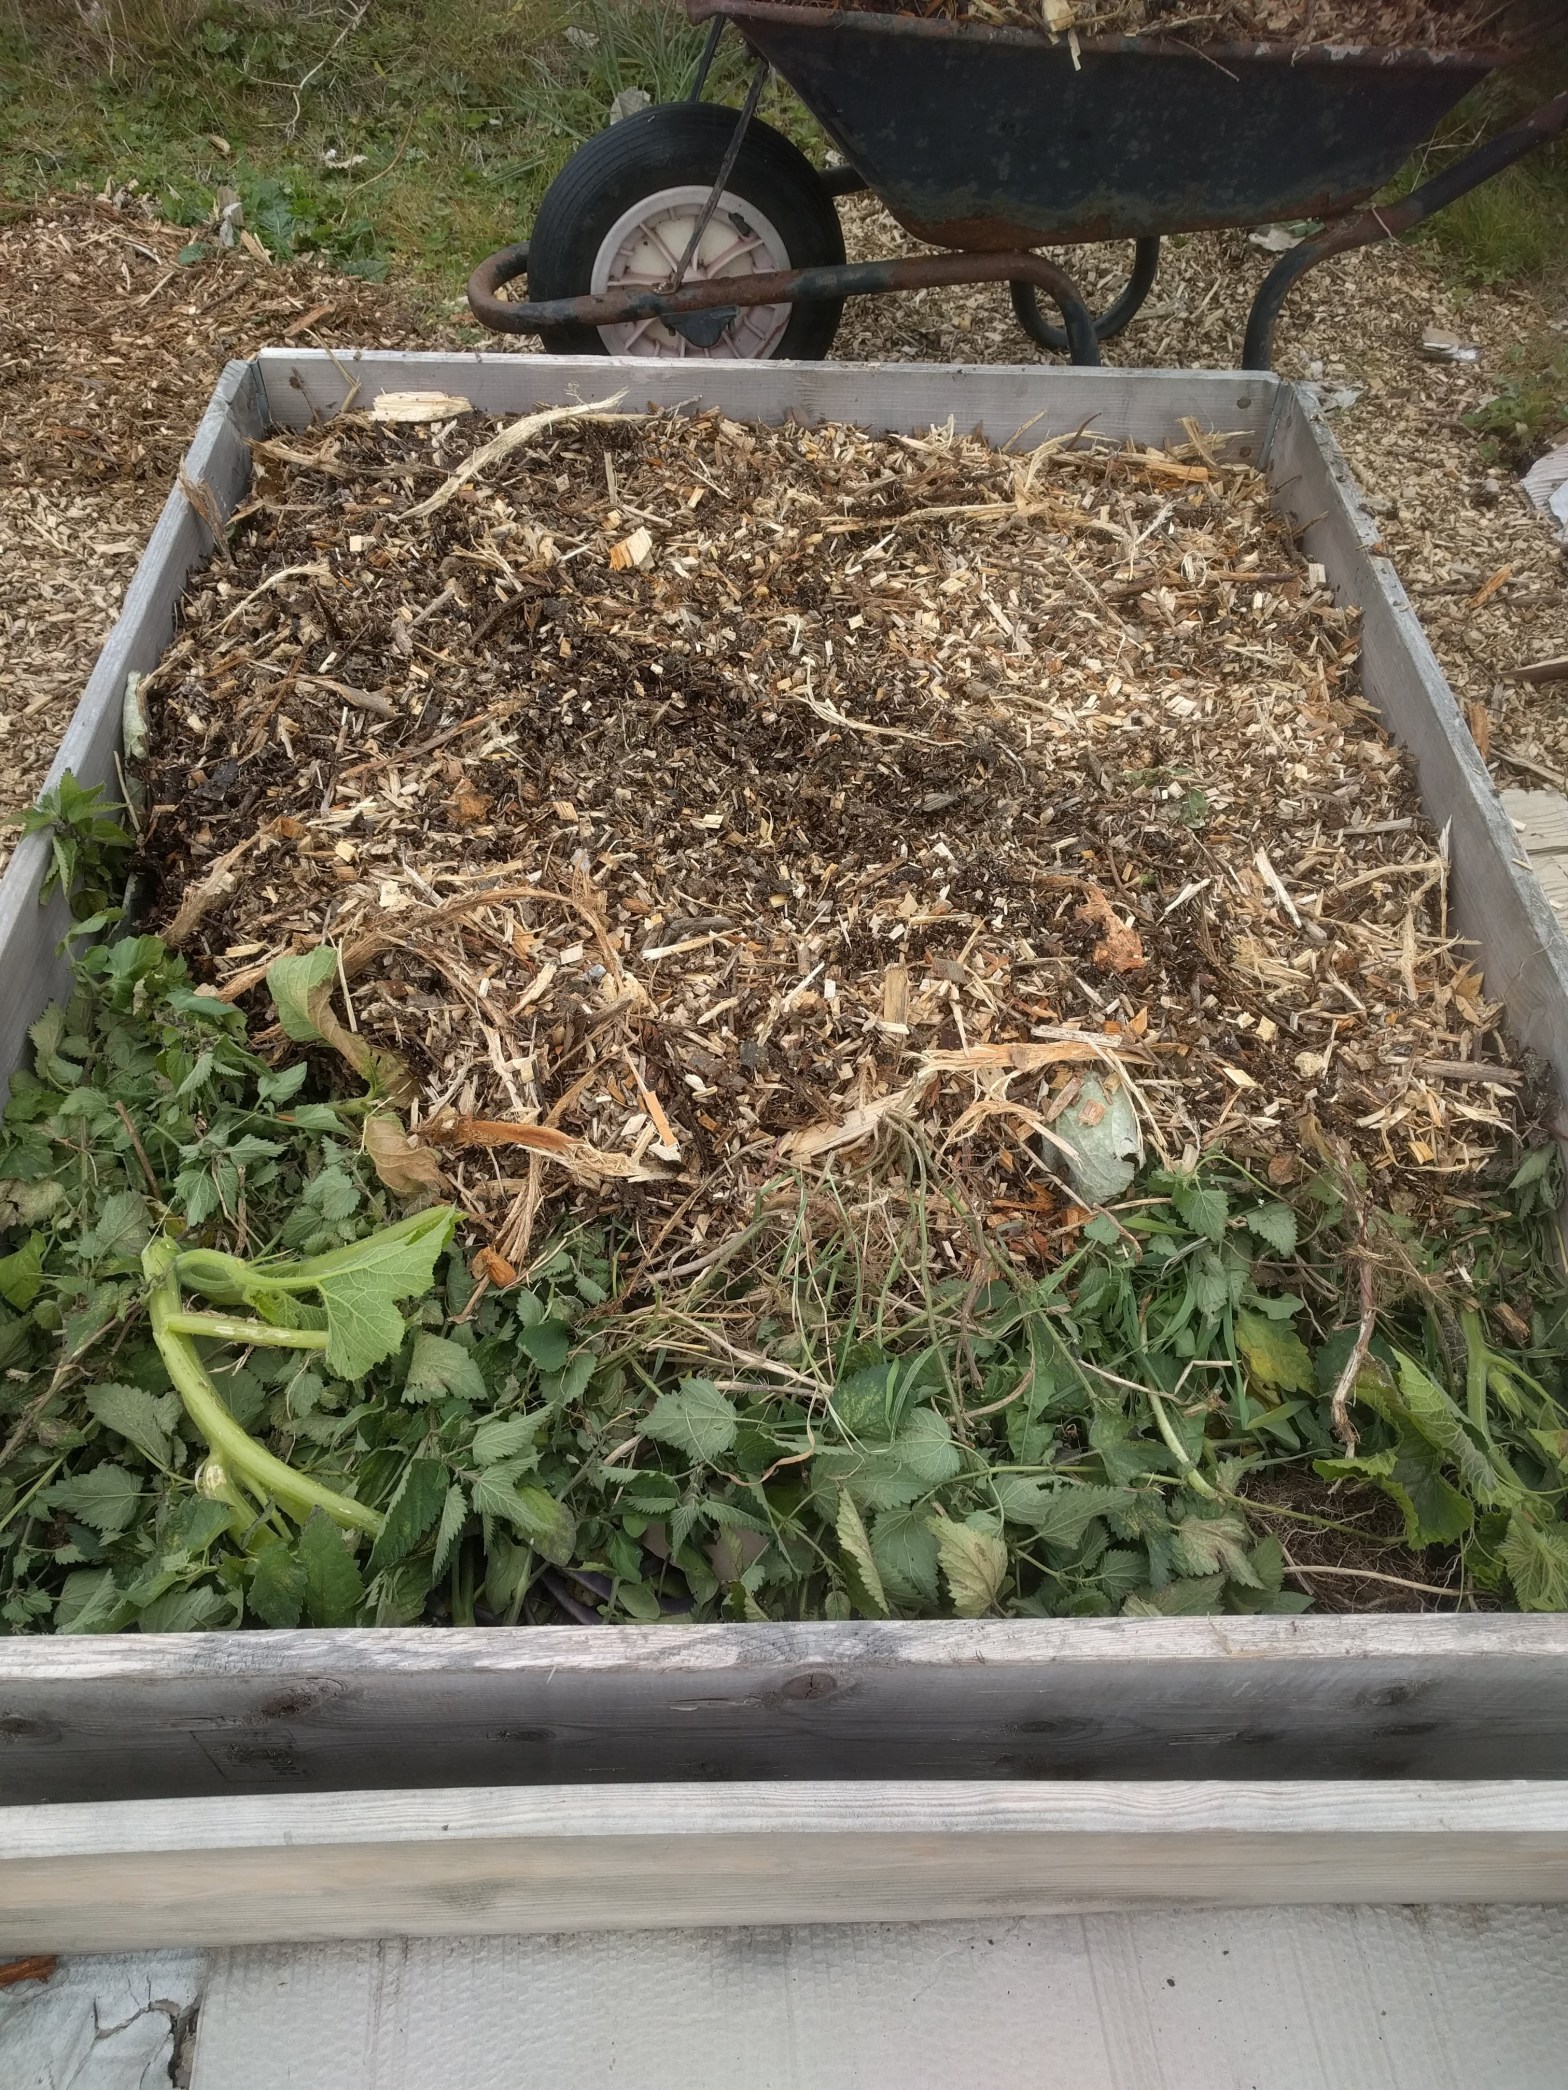


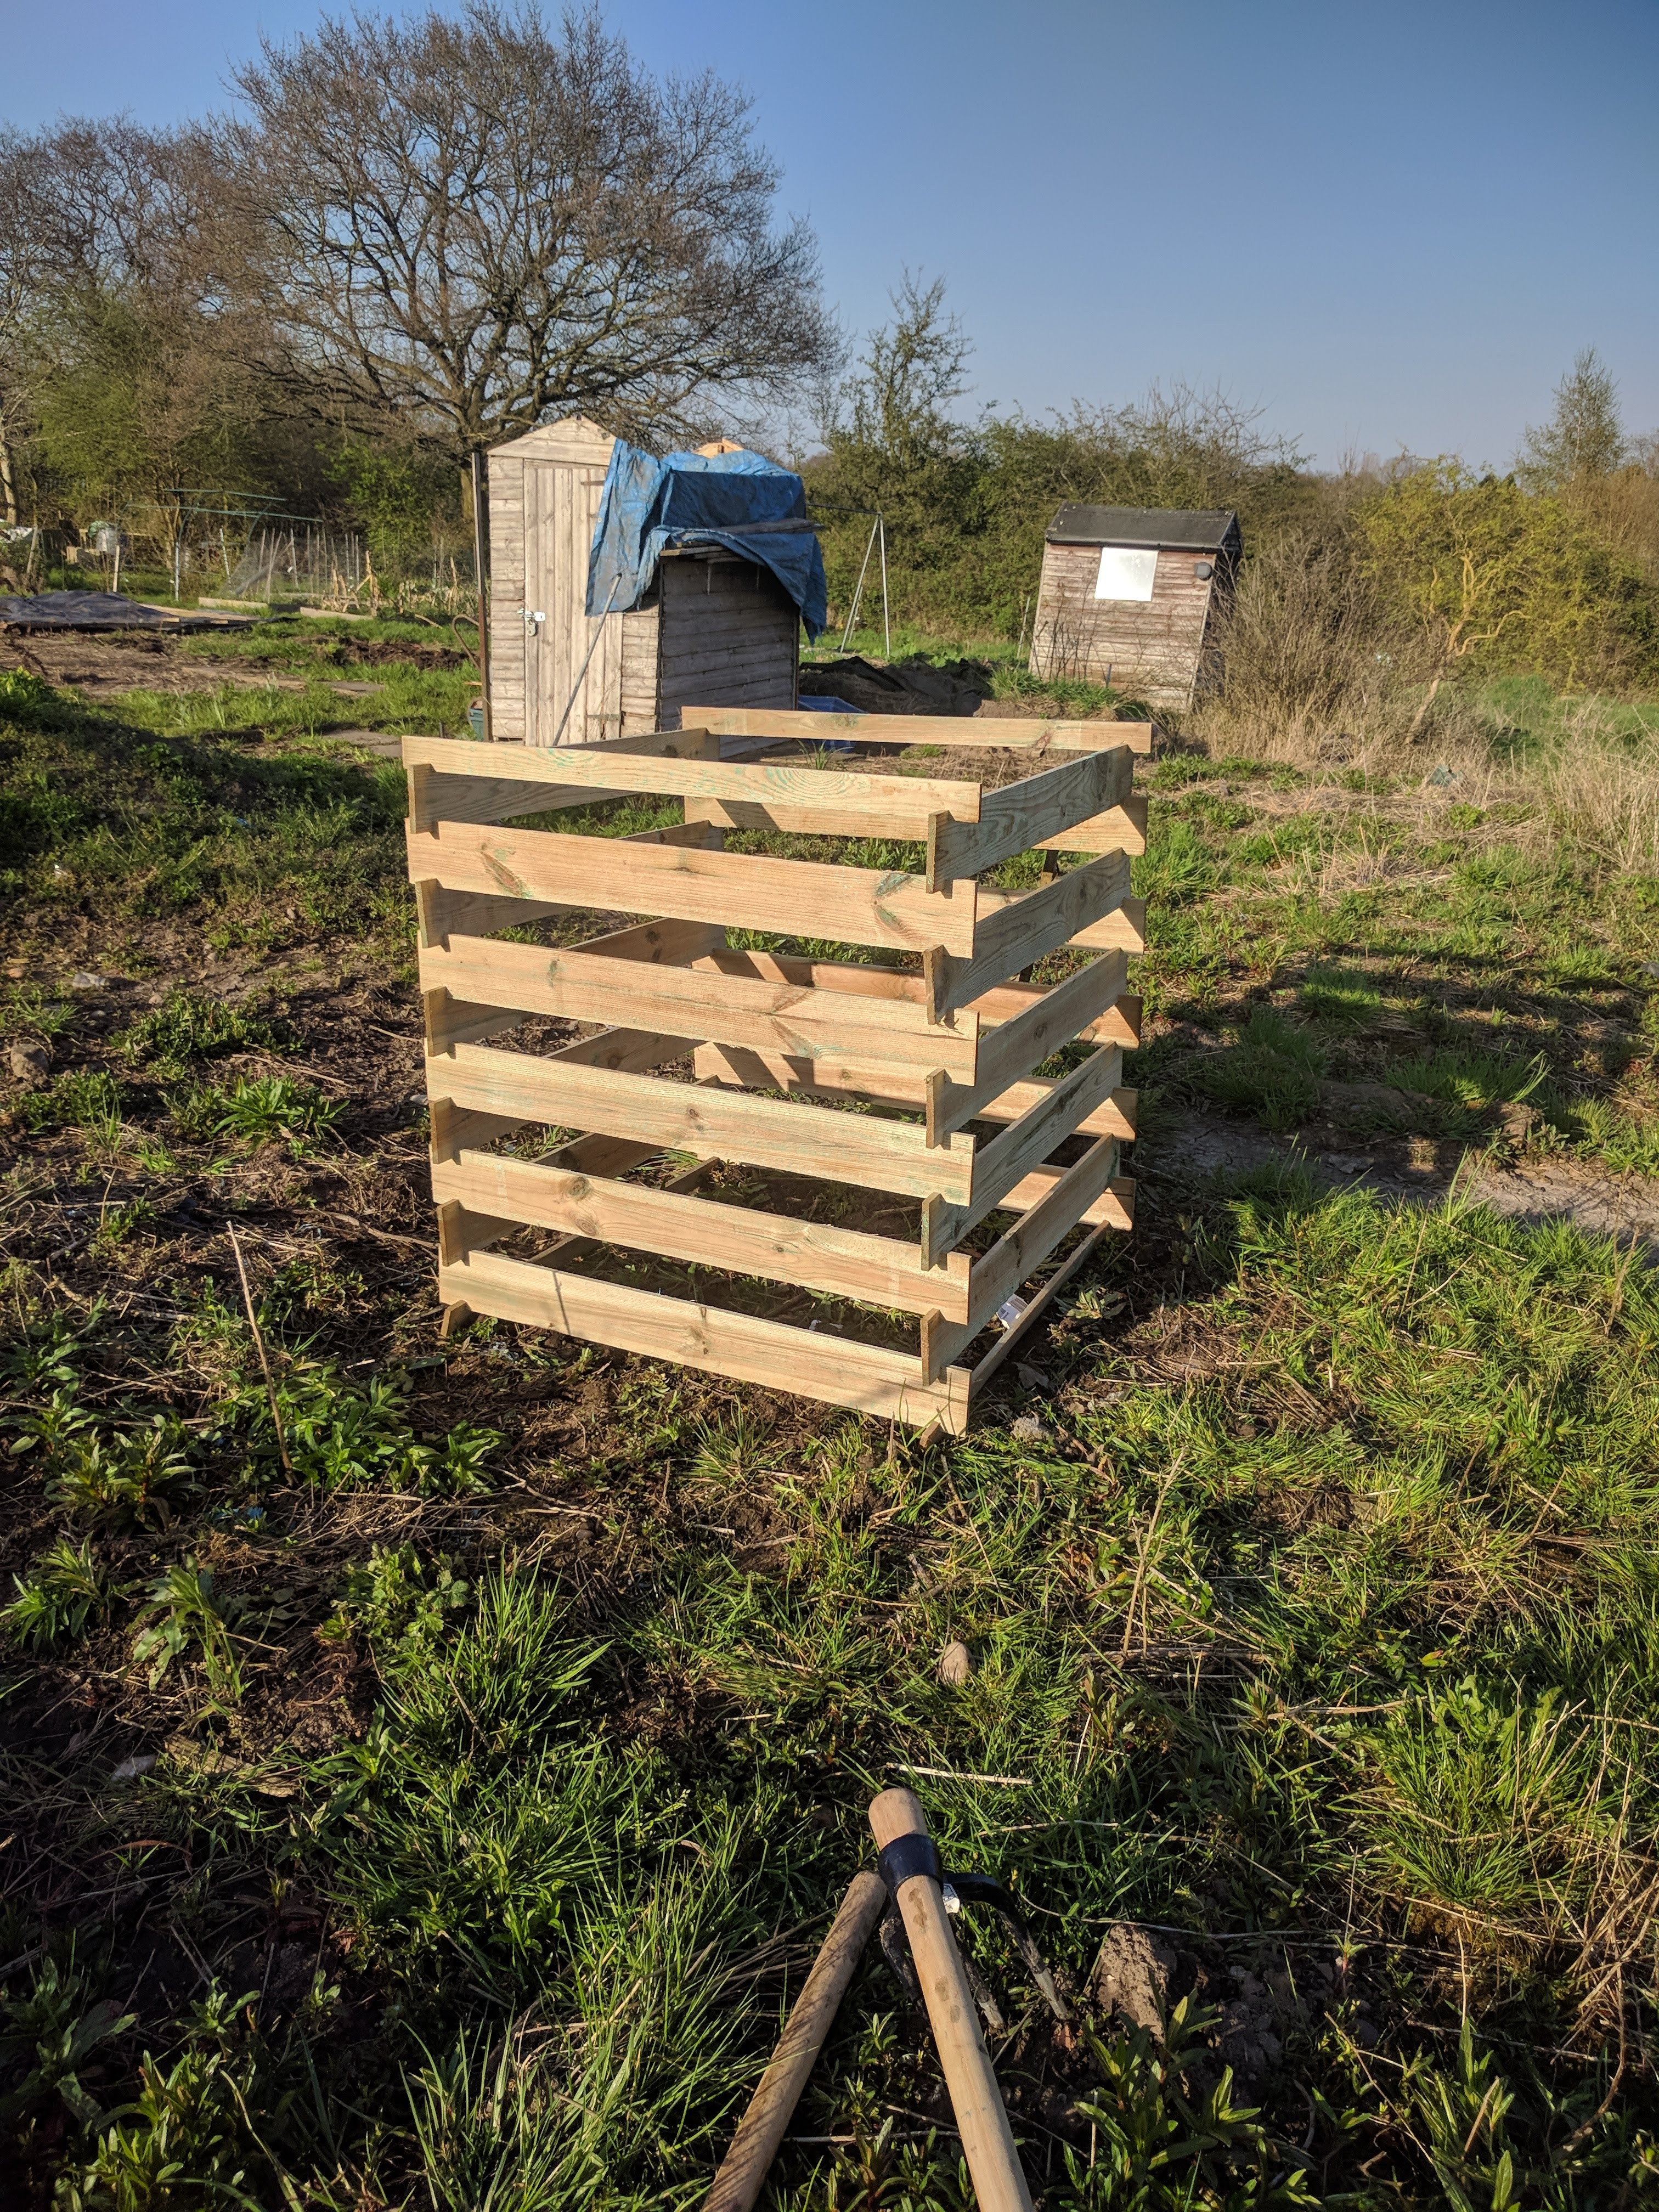 Finally got on the allotment on Friday in the early evening sunshine. Soil is still very damp but most of the standing pools of water seem to have disappeared. The day’s task was to build my first compost bin. I’d intended to build a suite of bins from pallets – and think I have found a source of these for about £2 each. However, I jumped the gun and bought a kit online at